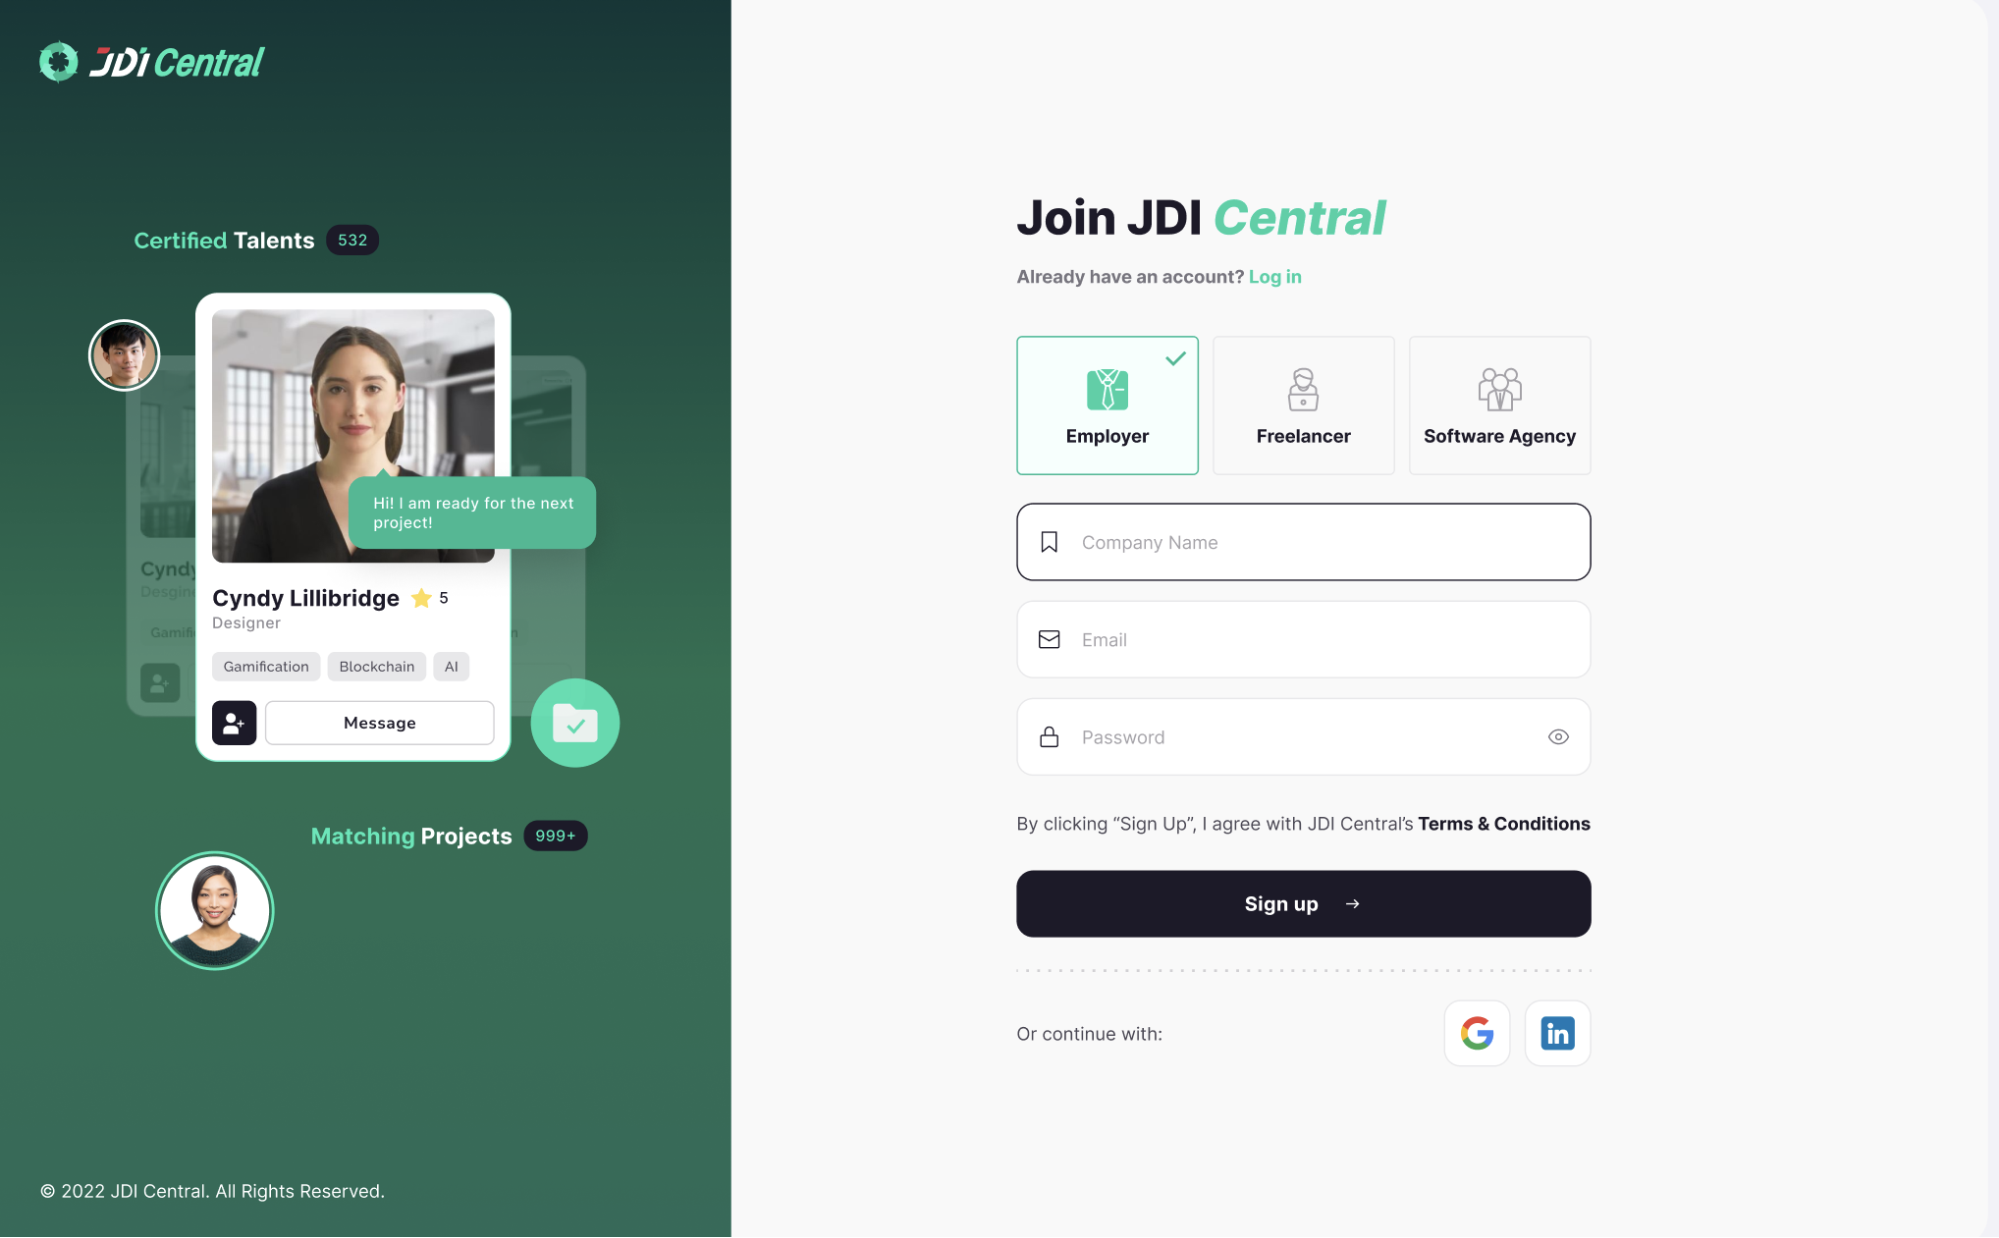
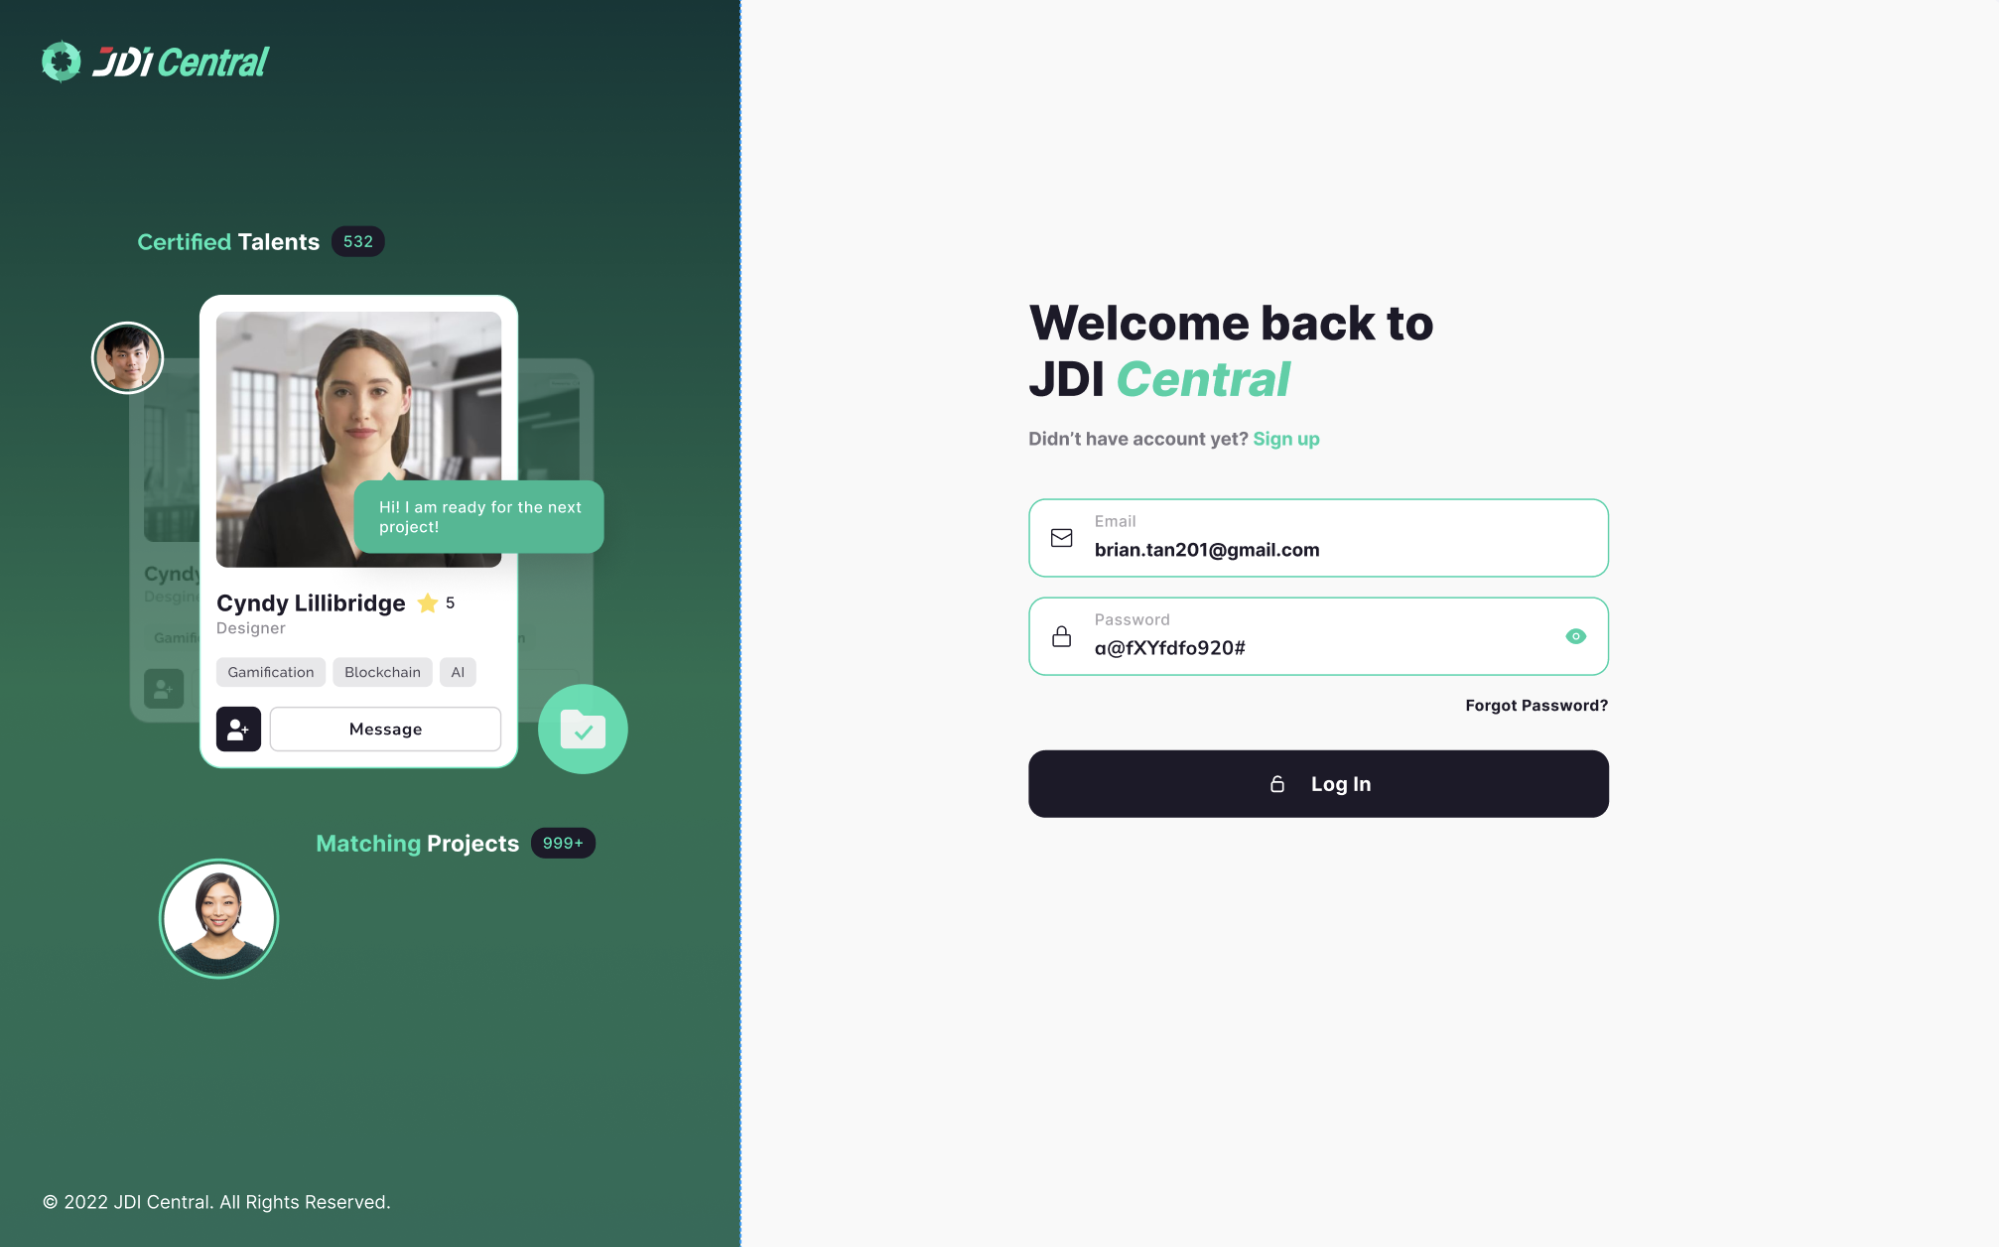
To get started as a Employer, go to sign up page and choose the Employer option. Registration is free. Note that once chosen, a account type cannot be changed.
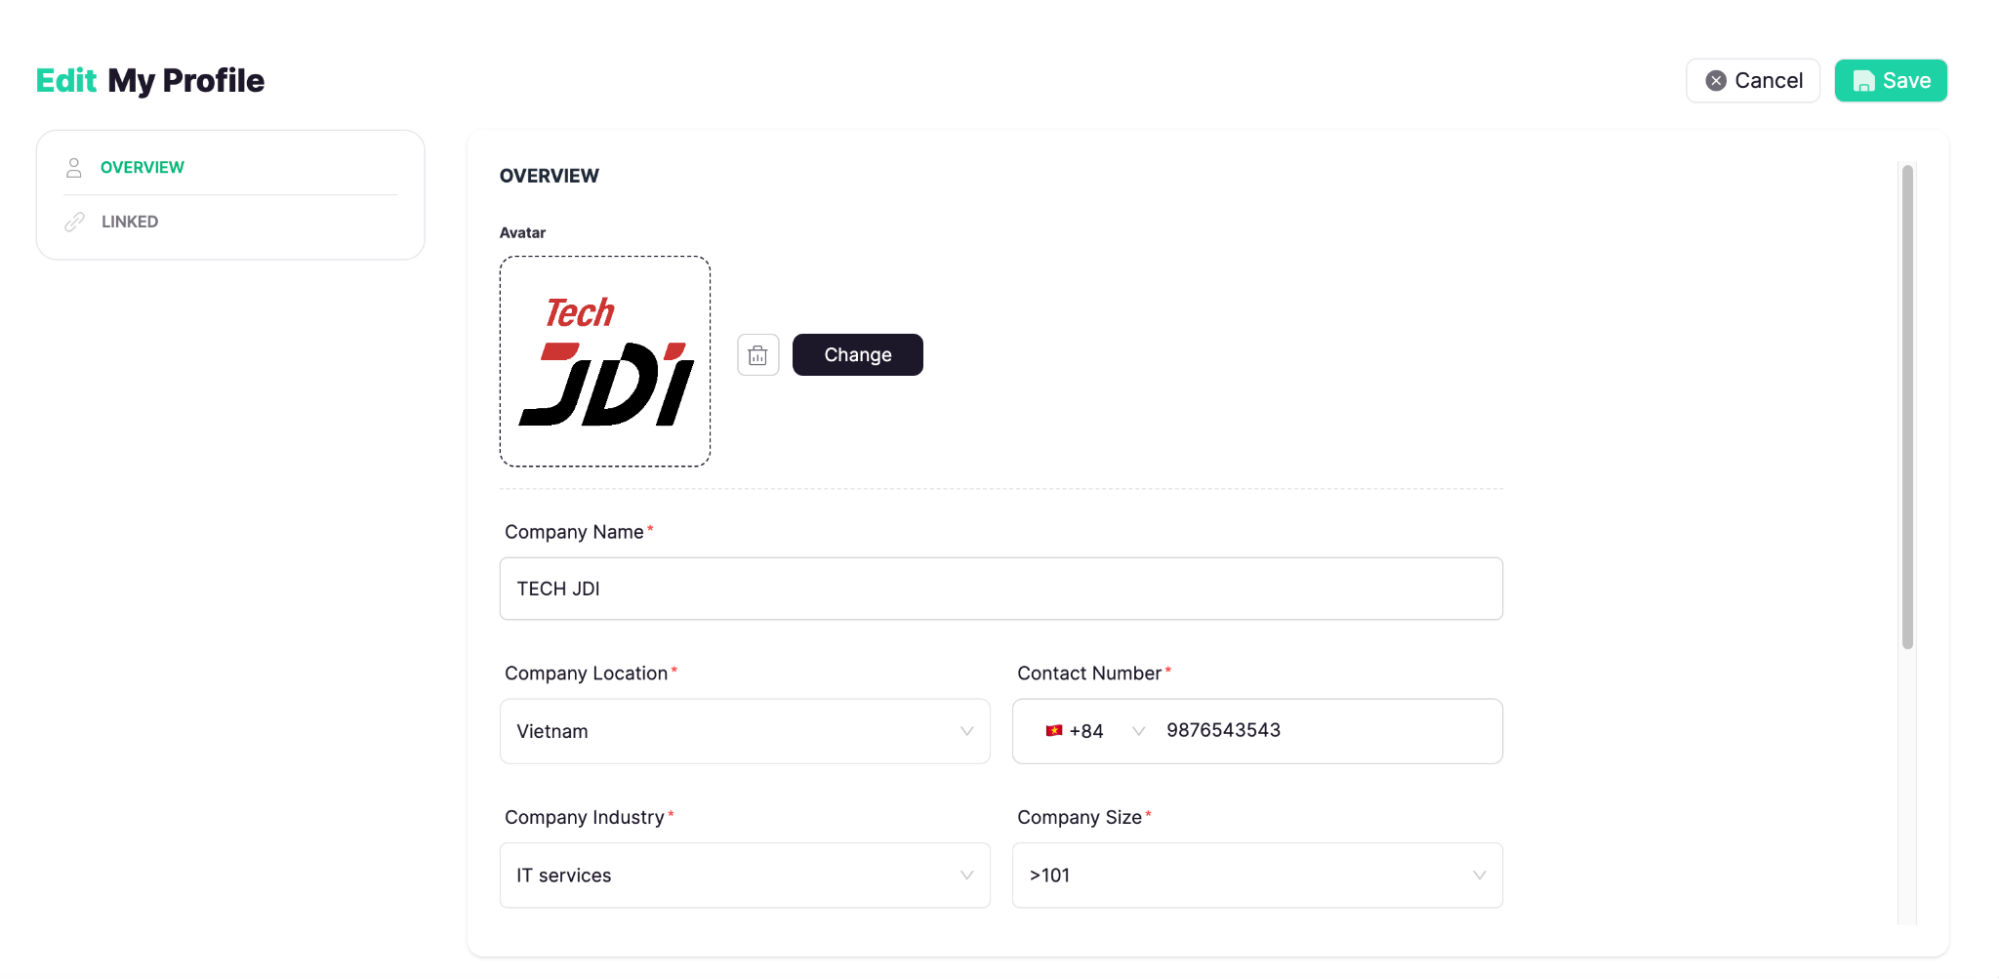
The first time log in you need to complete the onboarding steps to start exploring JDI Central
The first time log in you need to complete the onboarding steps to start exploring JDI Central
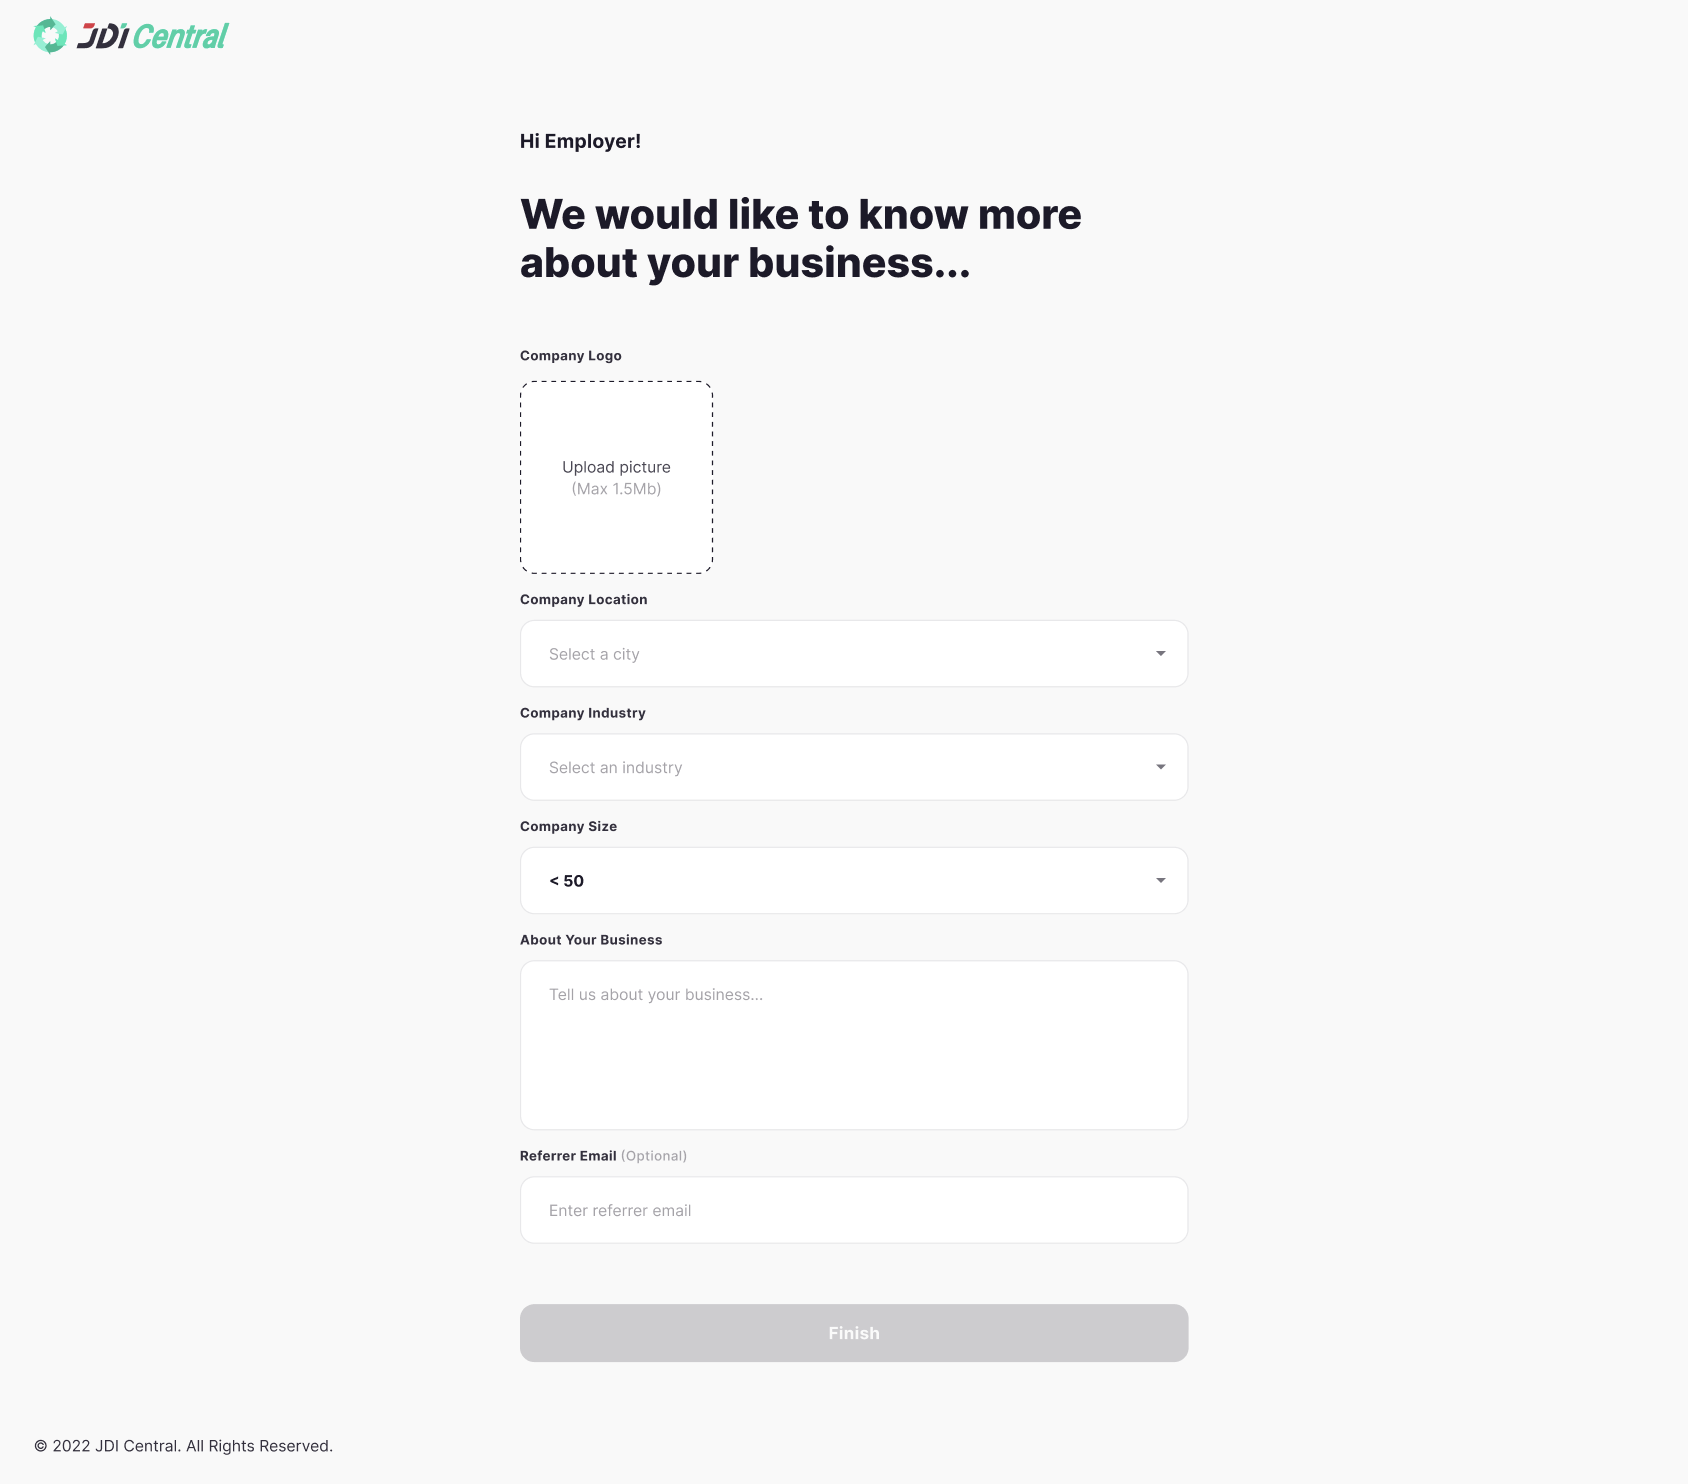
Required fields
- Company Name
- Location, Contact
Number
-
Company Industry
- Company Size
- Optional fields
Profile Photo
-
Overview
-
Expertise
- Linked
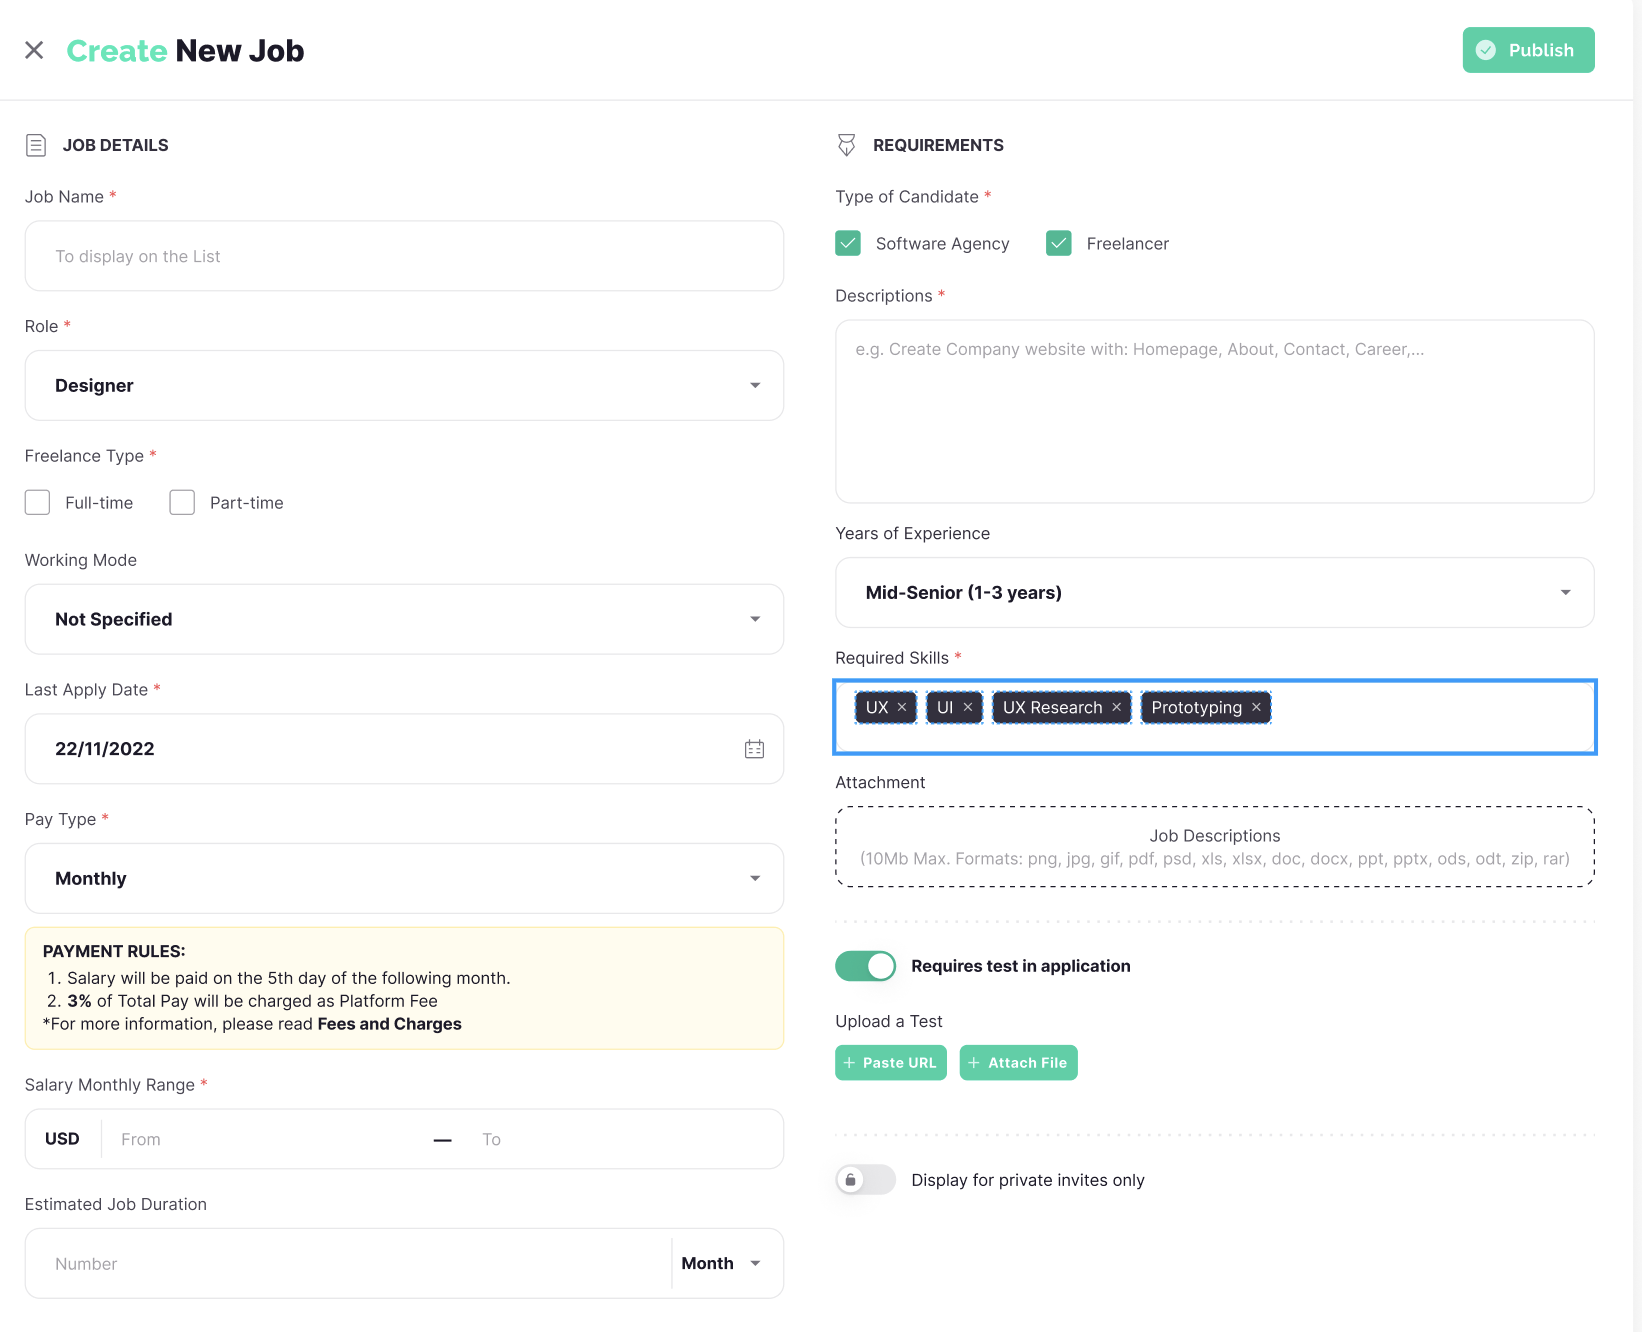
Navigate to: Opportunity page > Click New button > Click
Job
Required fields
- Job Name
- Role (at least one)
- Freelance Type
-
Last
Apply Date
- Pay Type
- Salary Range
- Type of Candidate
- Descriptions
-
Required Skills
Optional fields
- Working Mode
- Estimated Job Duration
-
Years of
Experience
- Attachment
After filling in, click the Publish button
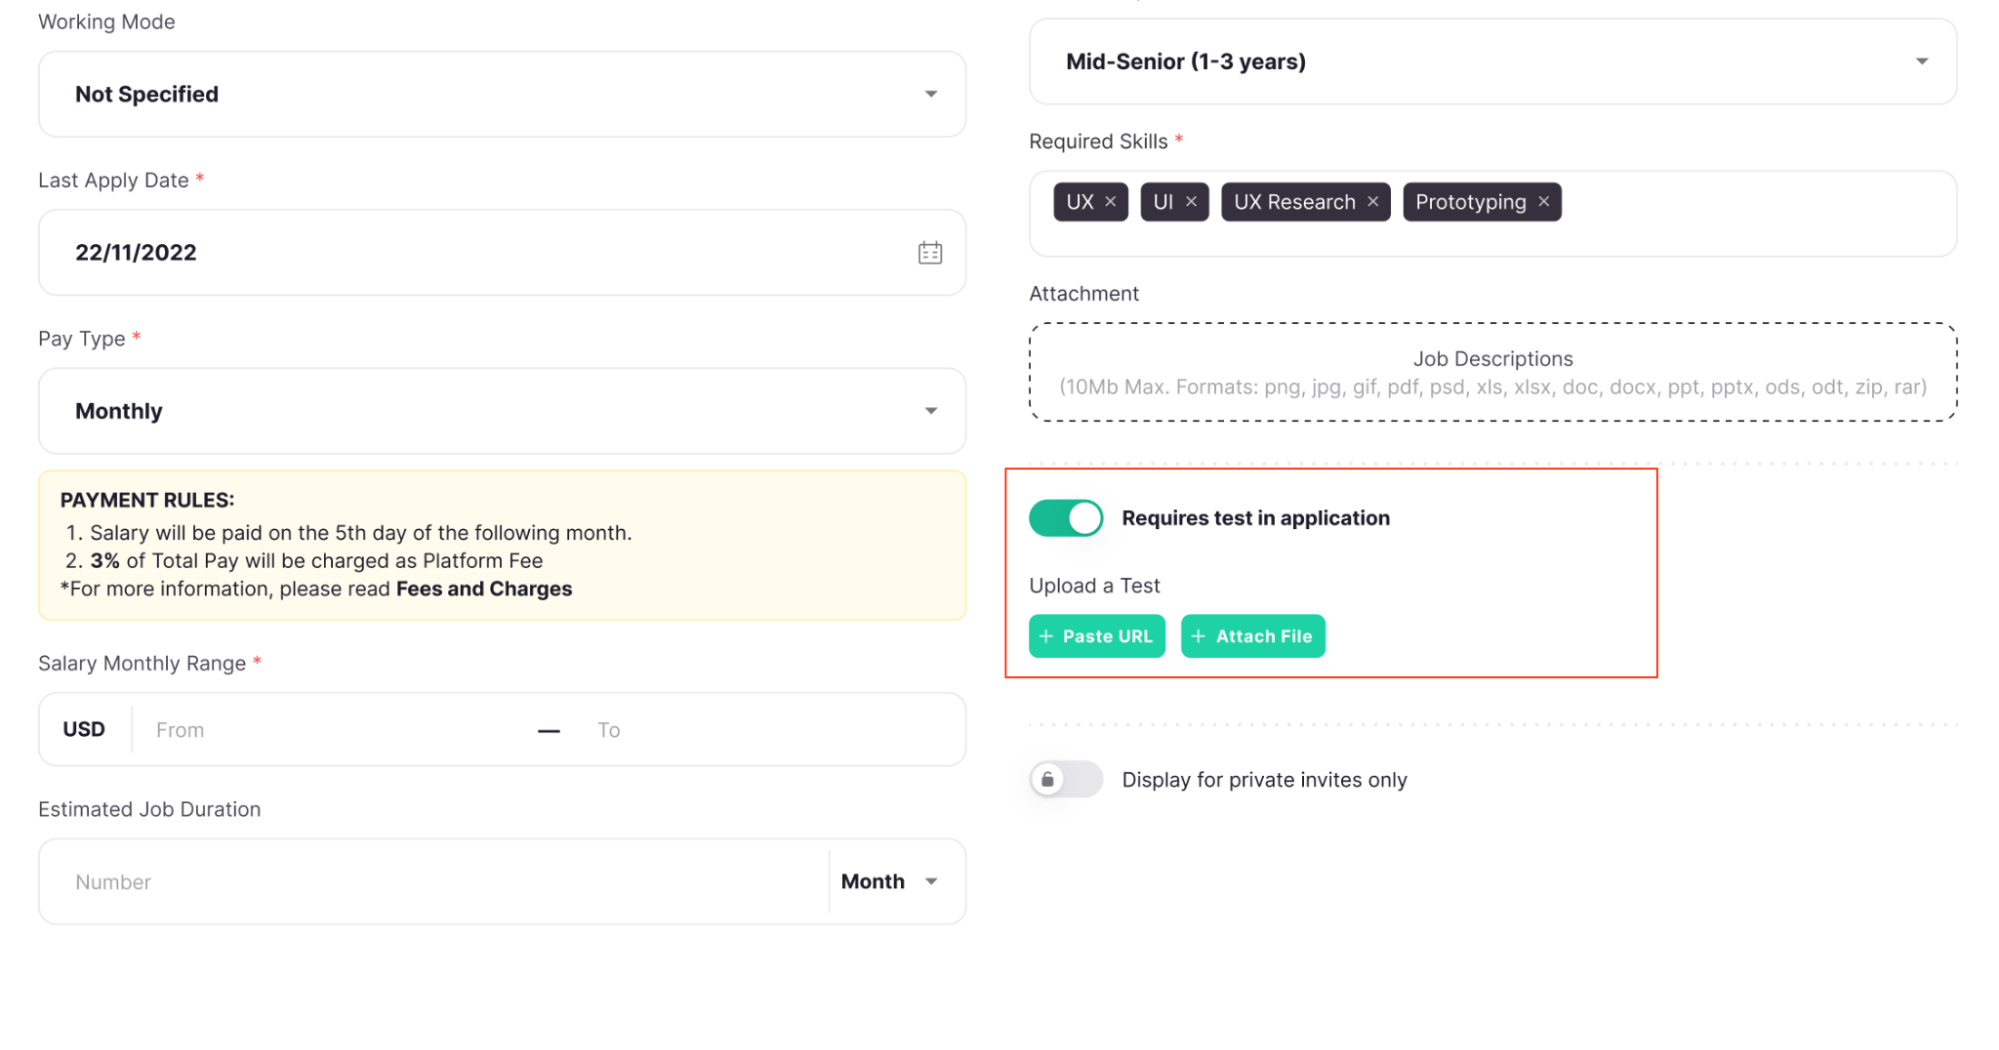
If the Employer wishes to create a new job posting that requires a
test
application, follow these steps:
After filling in the information, click Requires
Test in the
application, then paste the URL and attach the necessary file.
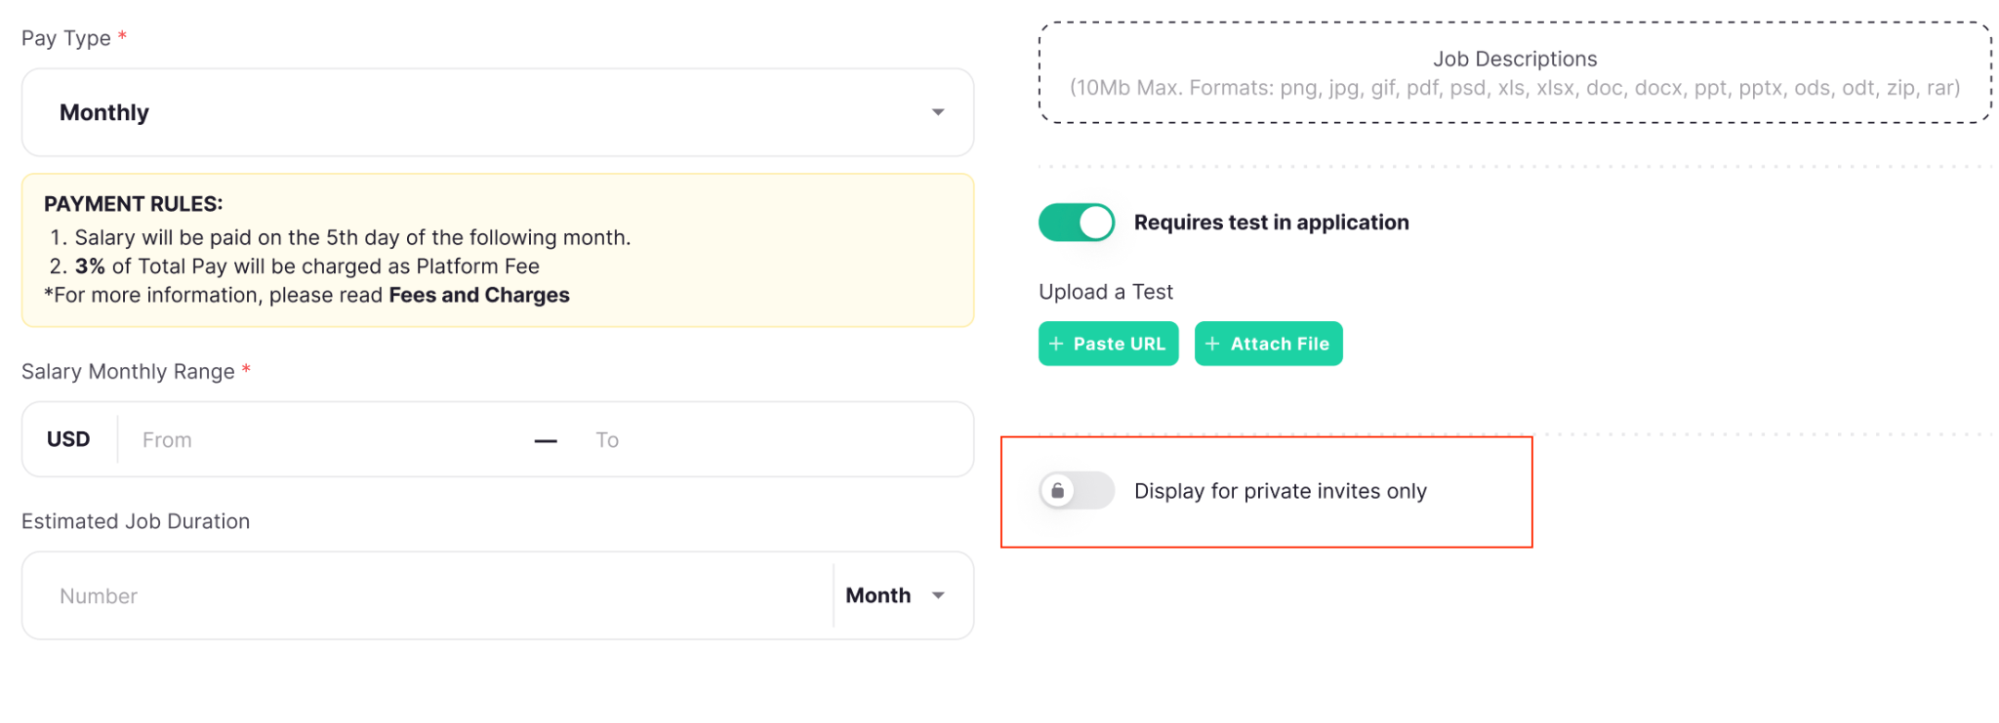
If the Employer wishes to create a new job posting for private
invites only,
follow these steps:
After filling in the information, click Display for private
invites only
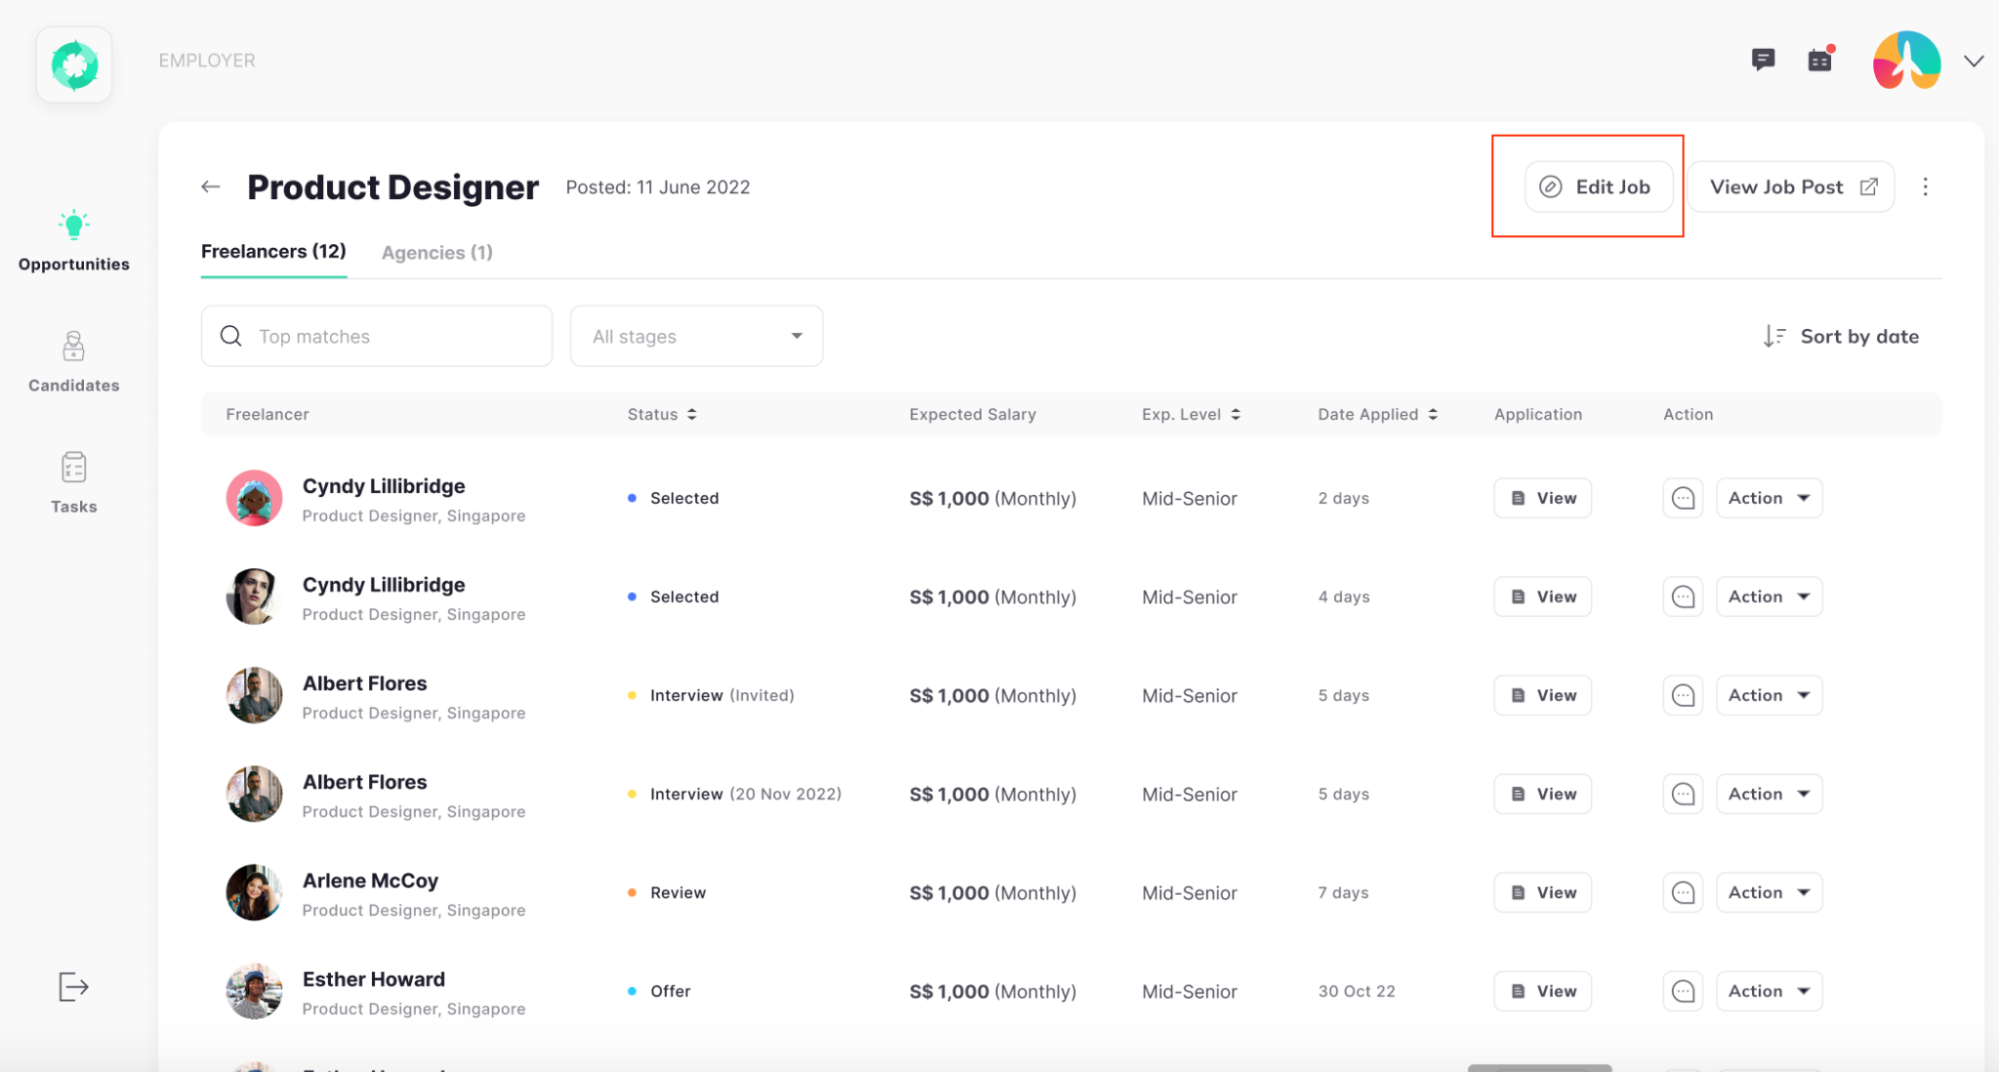
Navigate to: Opportunity page > Click on the Job > Click Edit Job button
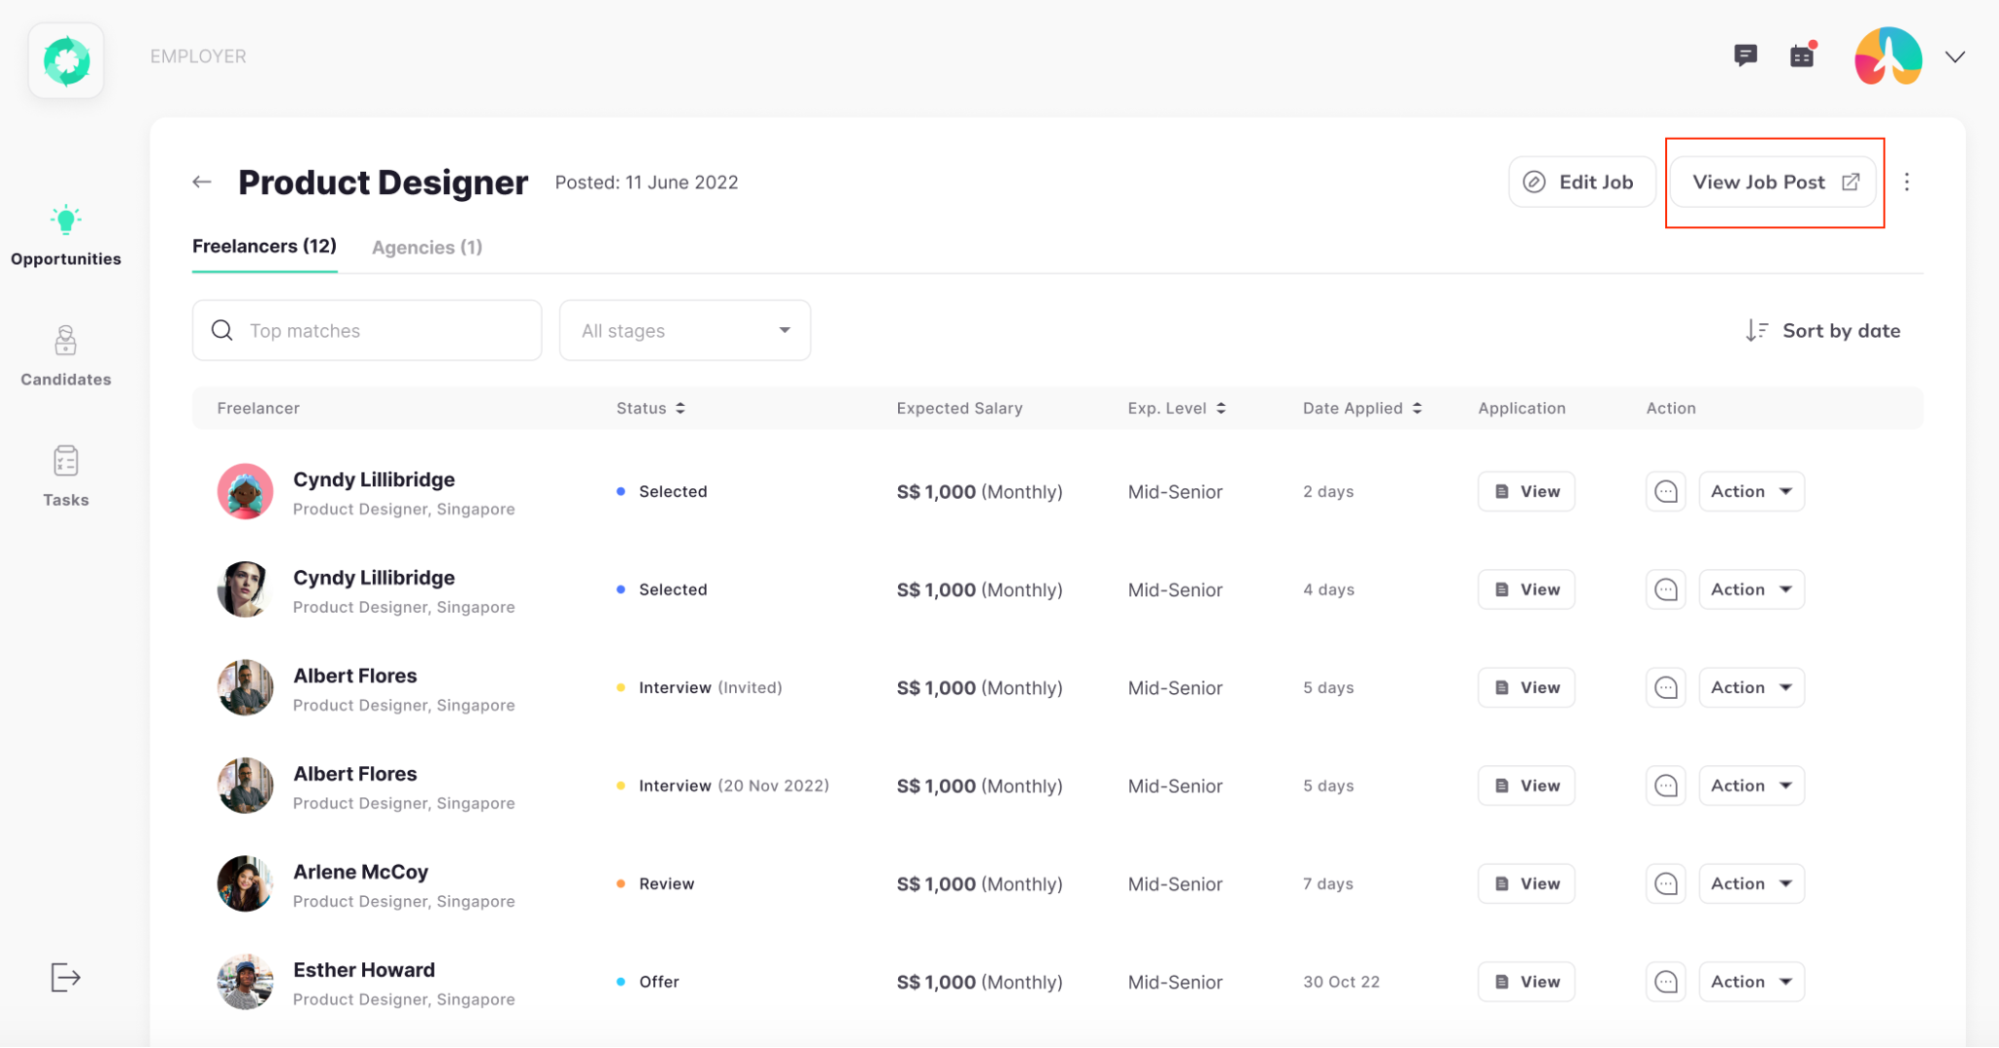
Navigate to: Opportunity page > Click on the Job > Click View Job post button
Navigate to: Opportunity page > Click on the Job
Navigate to: Opportunity page > Click on the Job
-
Selected:
Advancing to this status indicates that the JDI Talent Manager has reviewed and approved
the
candidate’s application. The Employer can now proceed to set up an interview
schedule.
-
Interview: The interview is sent to both JDI Talent and the Candidate.
- Review: This
status
signifies that after the interview, the Employer can extend an offer to the
Candidate.
-
Offer: The offer is sent to the candidate.
- Hired: This status confirms the
candidate's
acceptance of the job offer.
- Rejected: This status indicates that the Candidate
declined
the invitation to interview or the job offer.

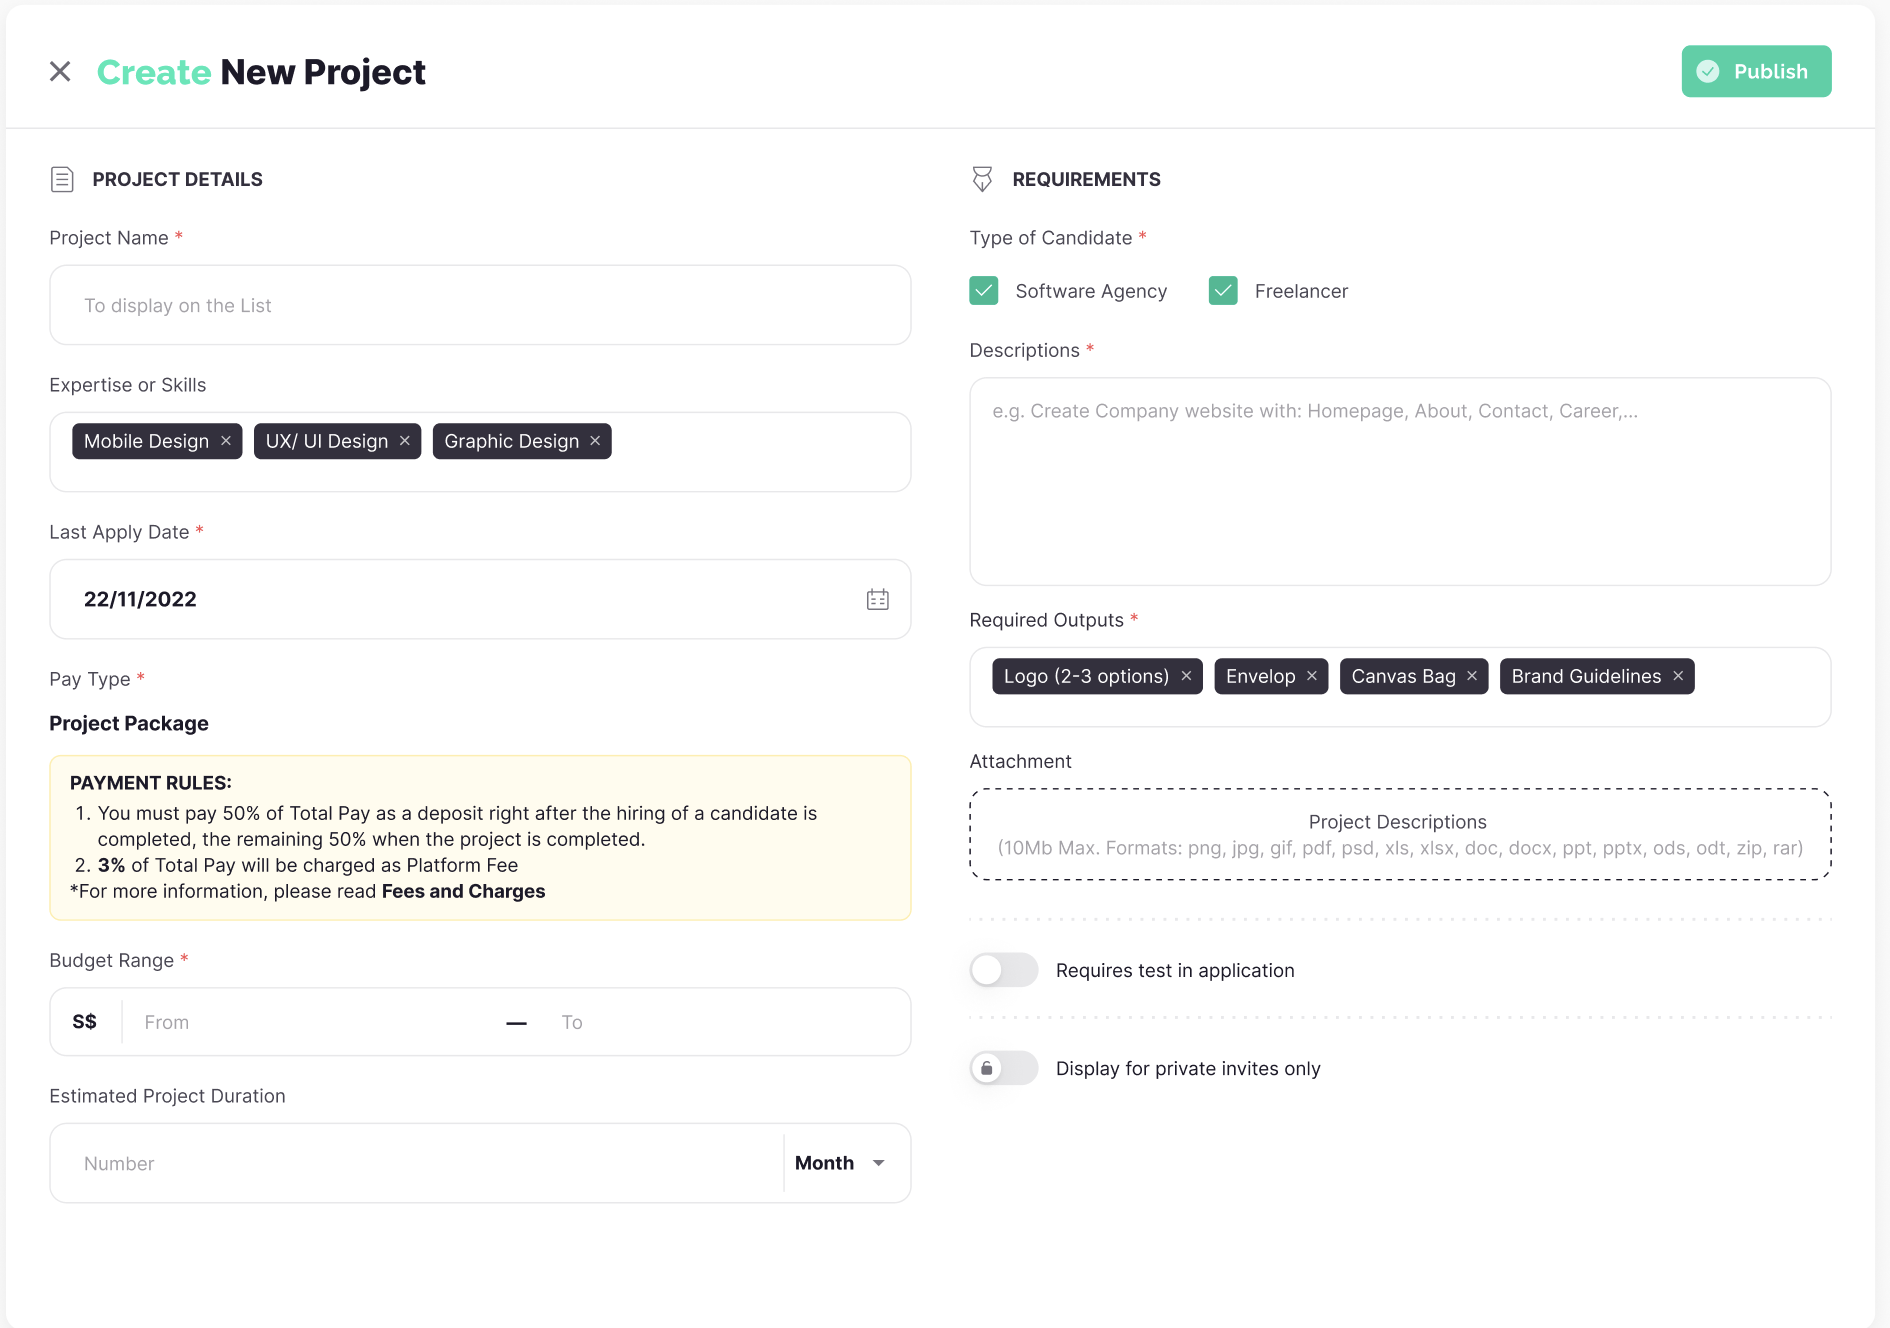
Navigate to: Opportunity page > Click New button > Click
Project
Required fields
- Project Name
- Last Apply Date
- Pay Type
-
Budget
Range
- Type of Candidate
- Descriptions
- Required Outputs
Optional
fields
-
Expertise or Skills
- Estimated Project Duration
- Attachment
- After filling
in, click
the Publish button
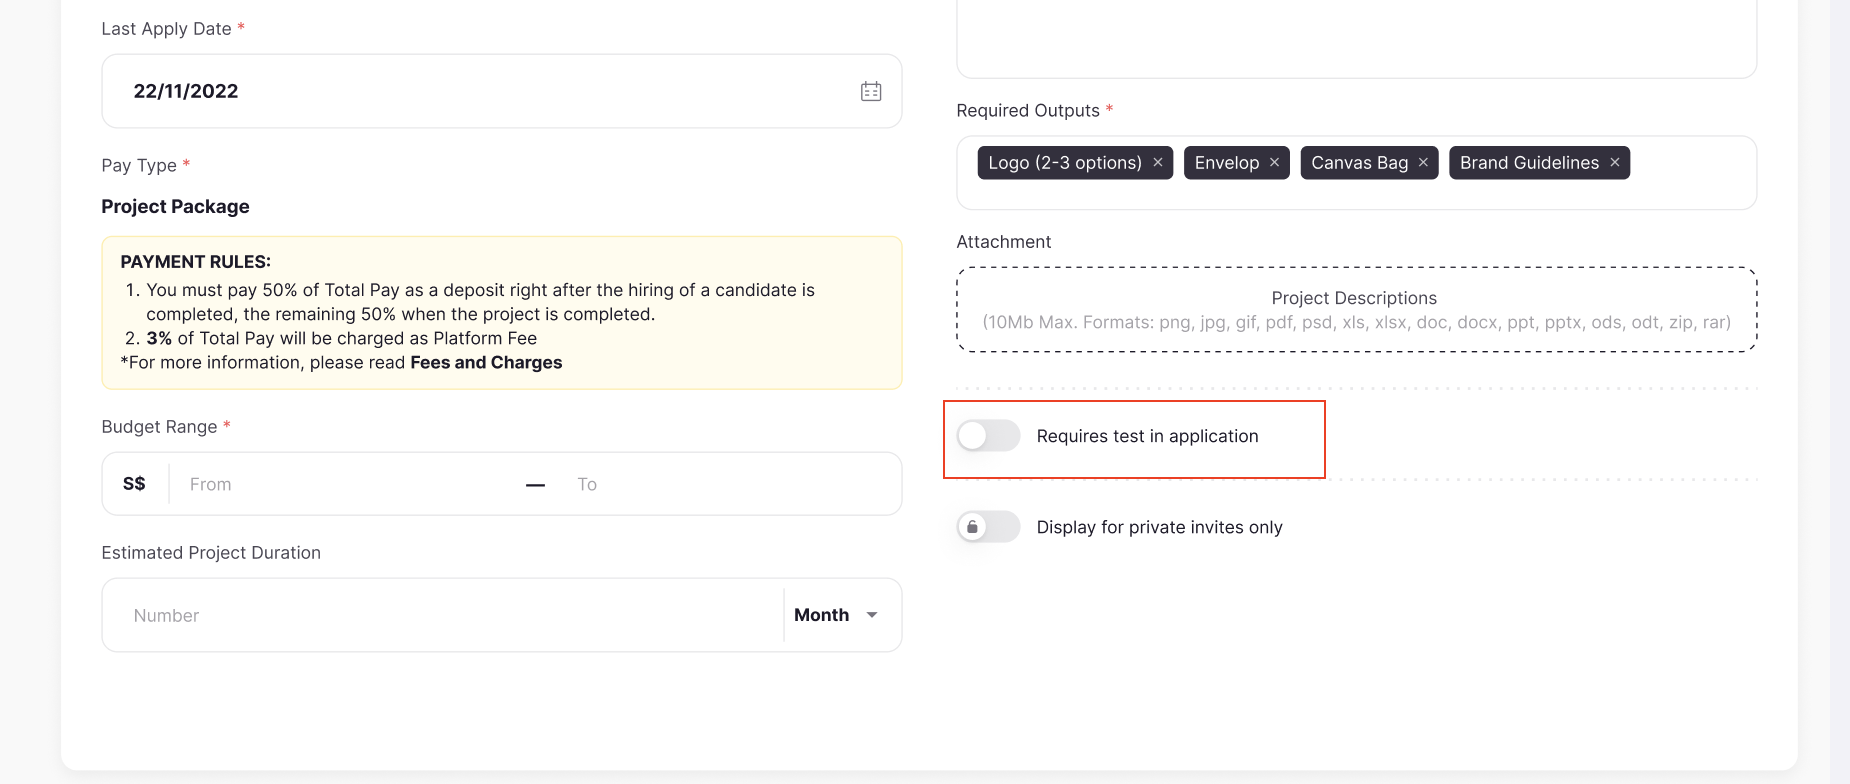
If the Employer wishes to create a new project posting that requires
a test
application, follow these steps:
After filling in the information, click Requires
Test in the
application, then paste the URL and attach the necessary file.
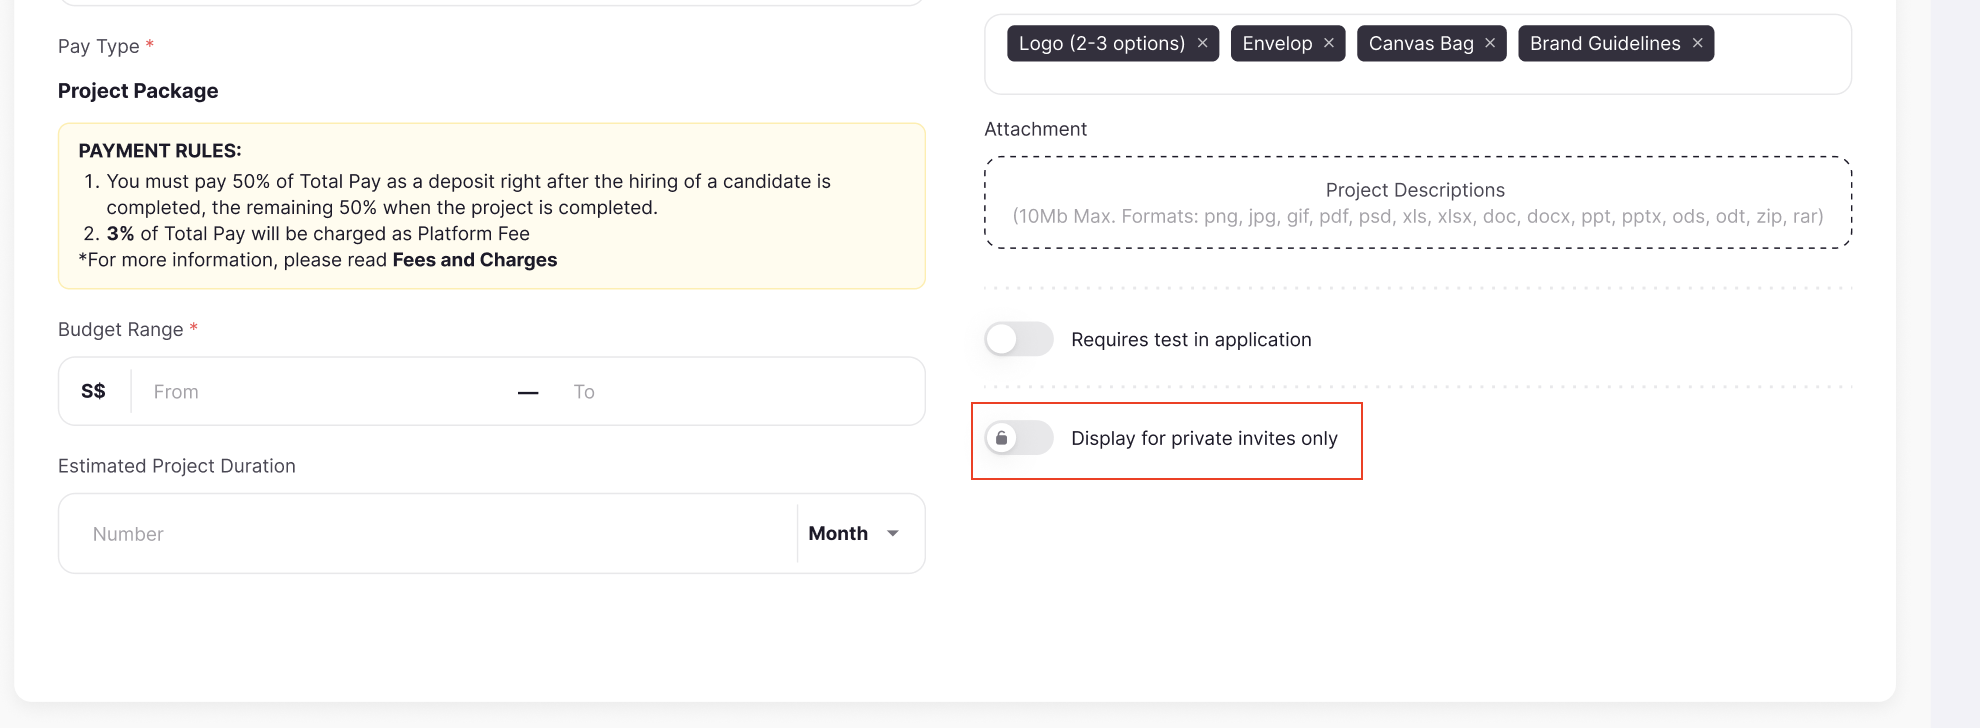
If the Employer wishes to create a new project posting for private
invites
only, follow these steps:
After filling in the information, click Display for private
invites
only
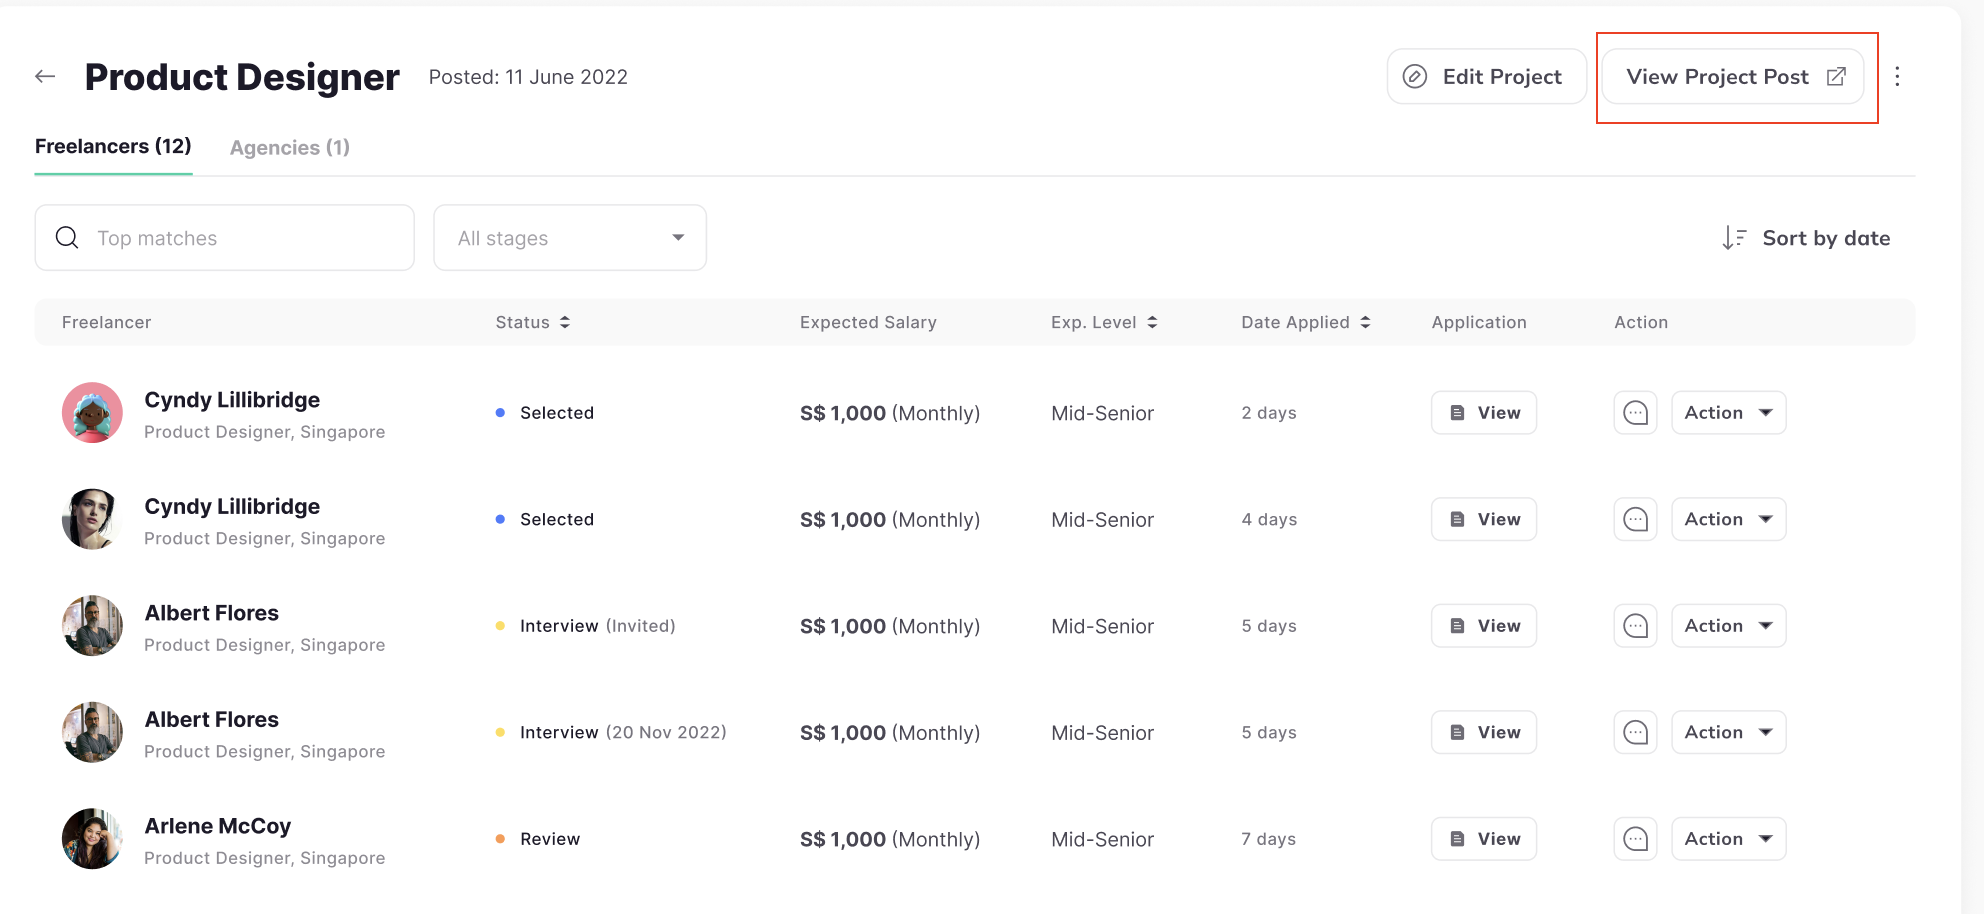
Navigate to: The opportunity page > Click on the Project > Click the Edit Project button

Navigate to: Opportunity page > Click on the Job > Click View Project post button
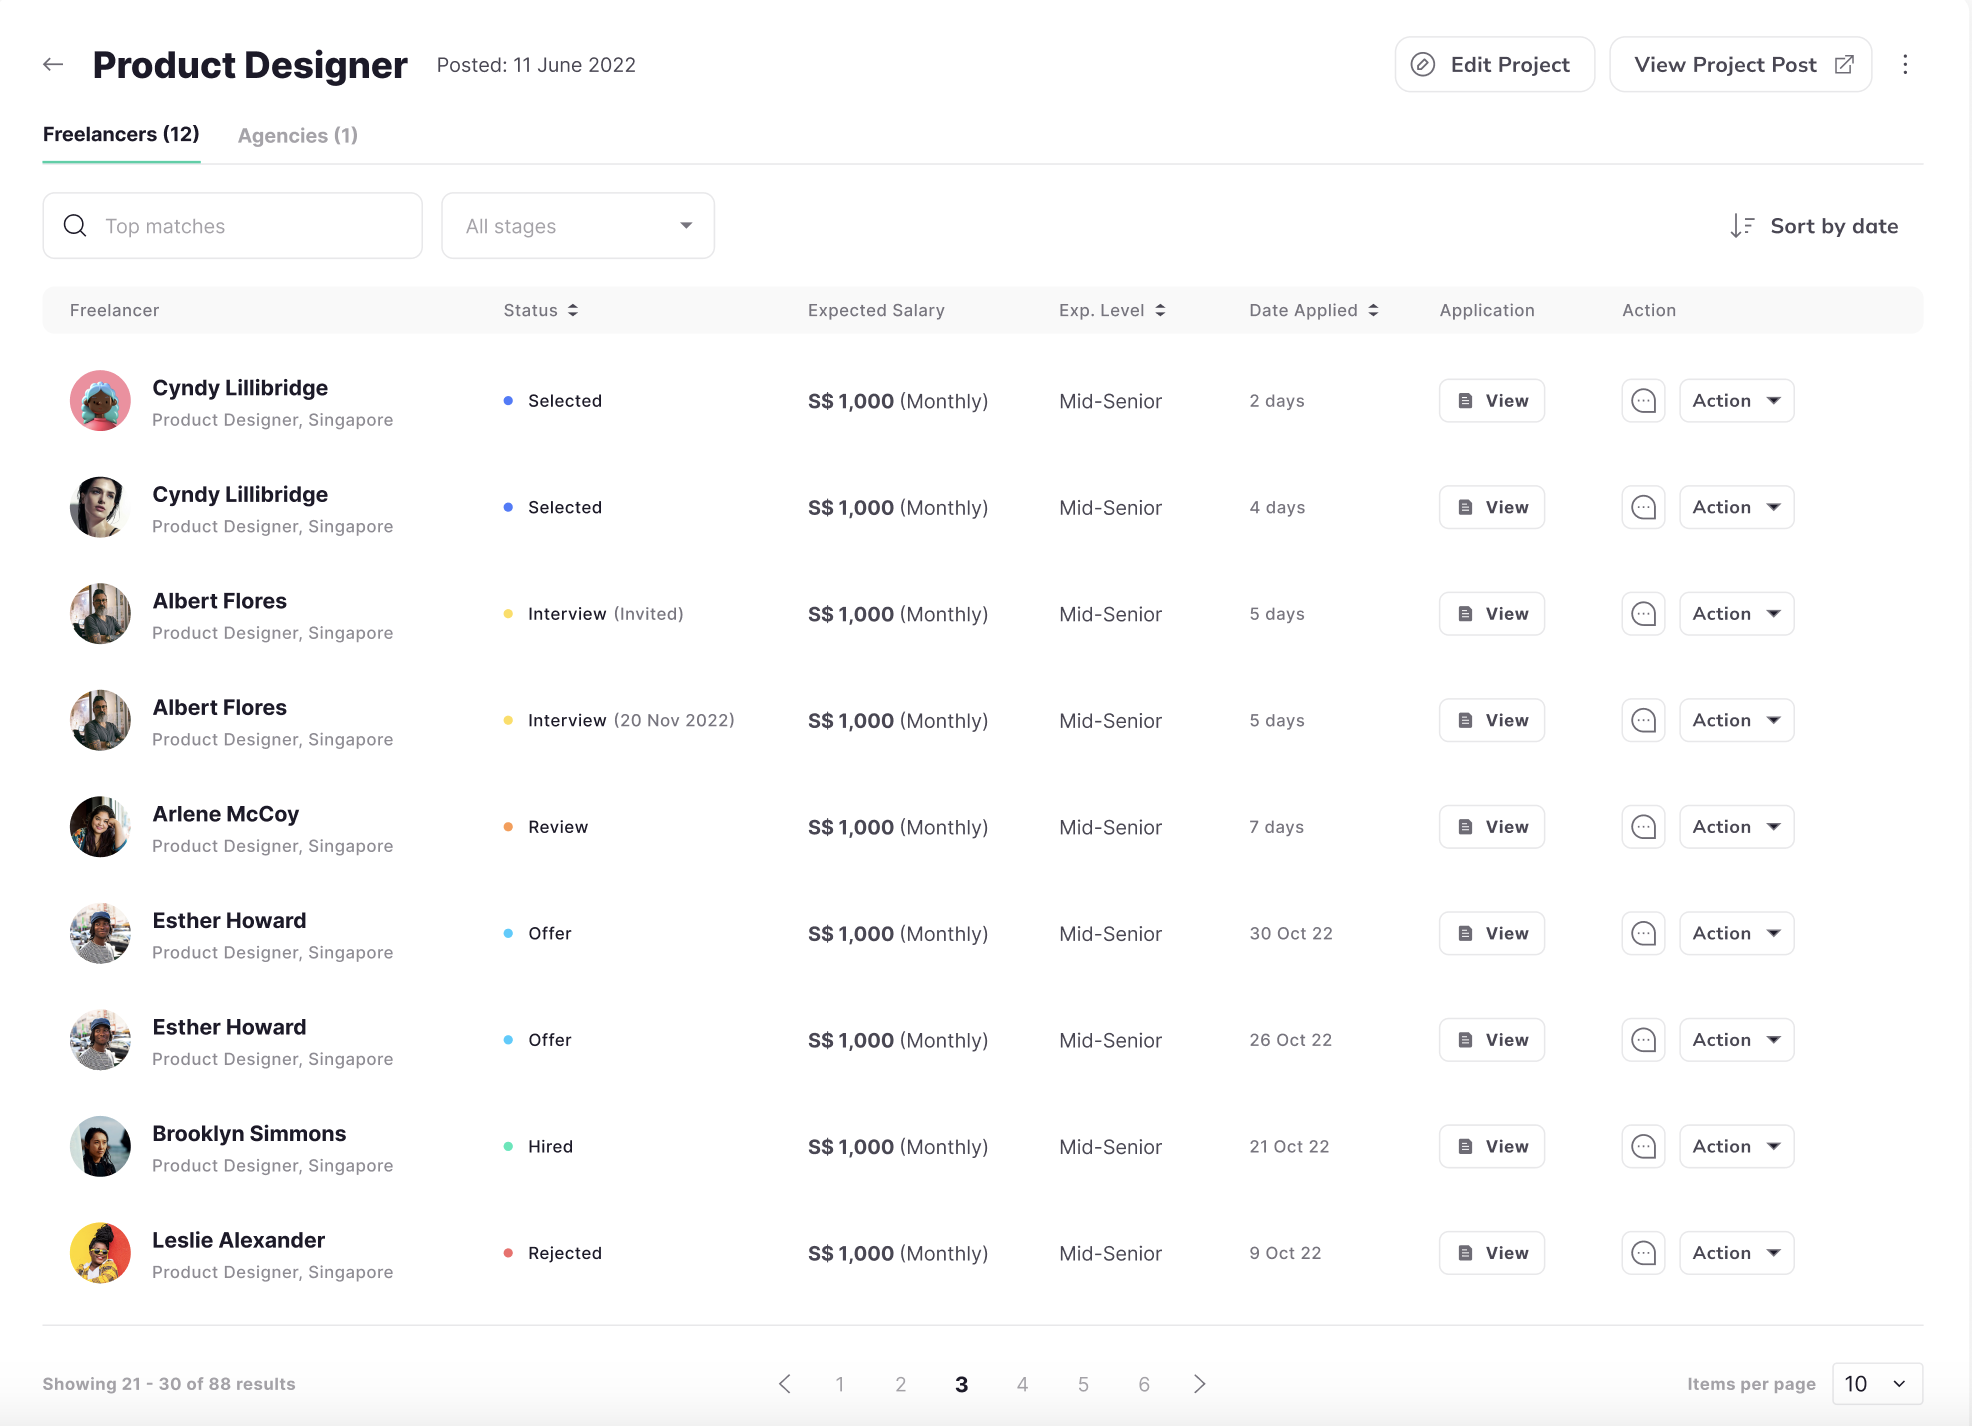
Navigate to: Opportunity page > Click on the Project
Navigate to: Opportunity page > Click on the Project
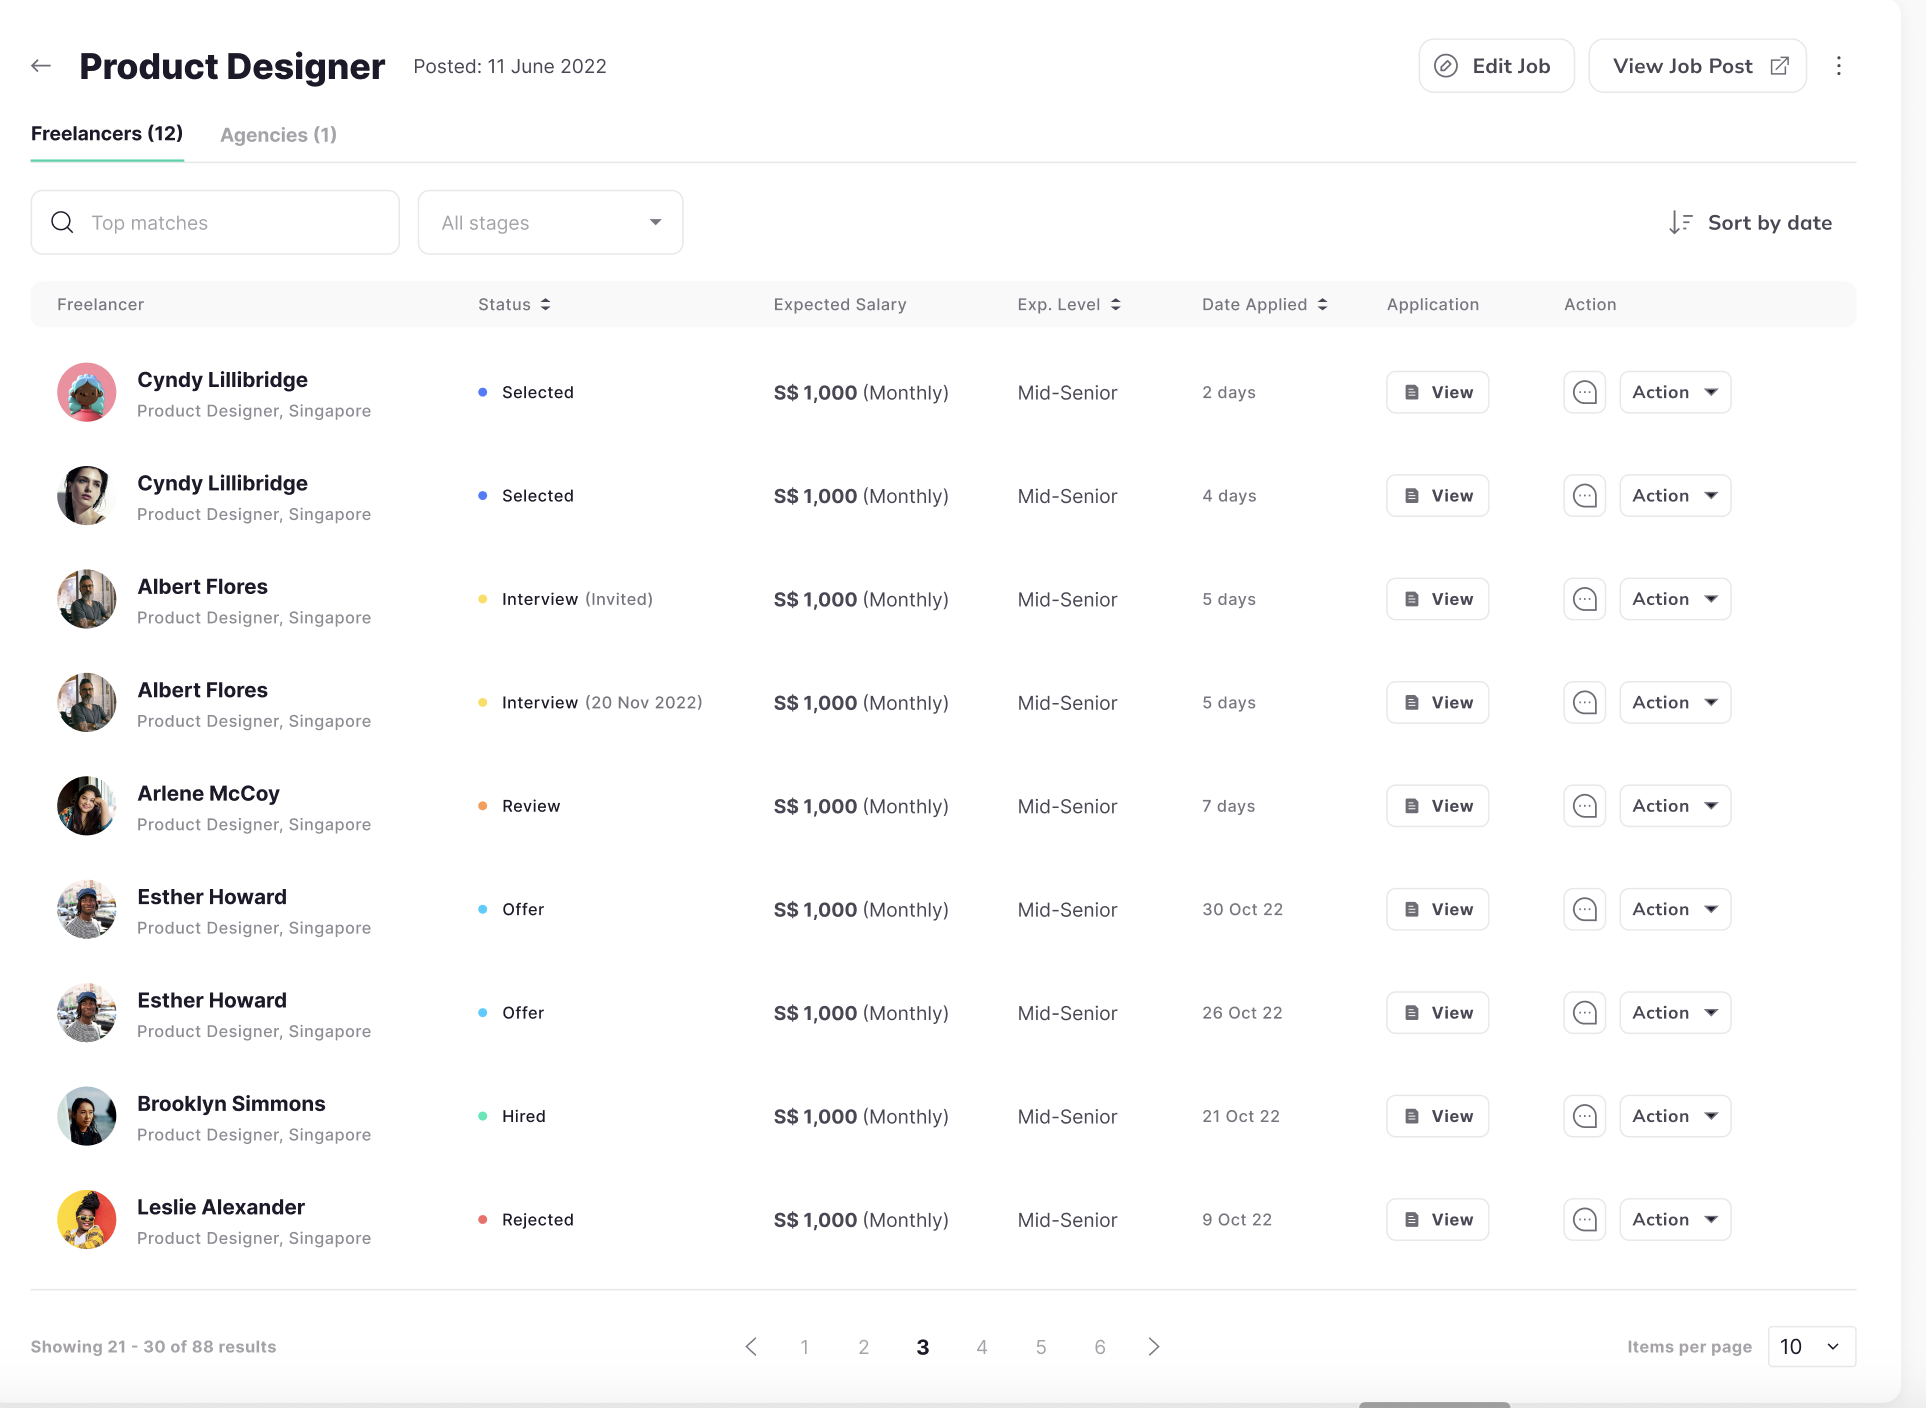
-
Selected:
Advancing to this status indicates that the JDI Talent Manager has reviewed and approved
the
candidate’s application. The Employer can now proceed to set up an interview
schedule.
-
Interview: The interview is sent to both JDI Talent and the Candidate.
- Review: This
status
signifies that after the interview, the Employer can extend an offer to the
Candidate.
-
Offer: The offer is sent to the candidate.
- Hired: This status confirms the
candidate's
acceptance of the job offer.
- Rejected: This status indicates that the Candidate
declined
the invitation to interview or the job offer.
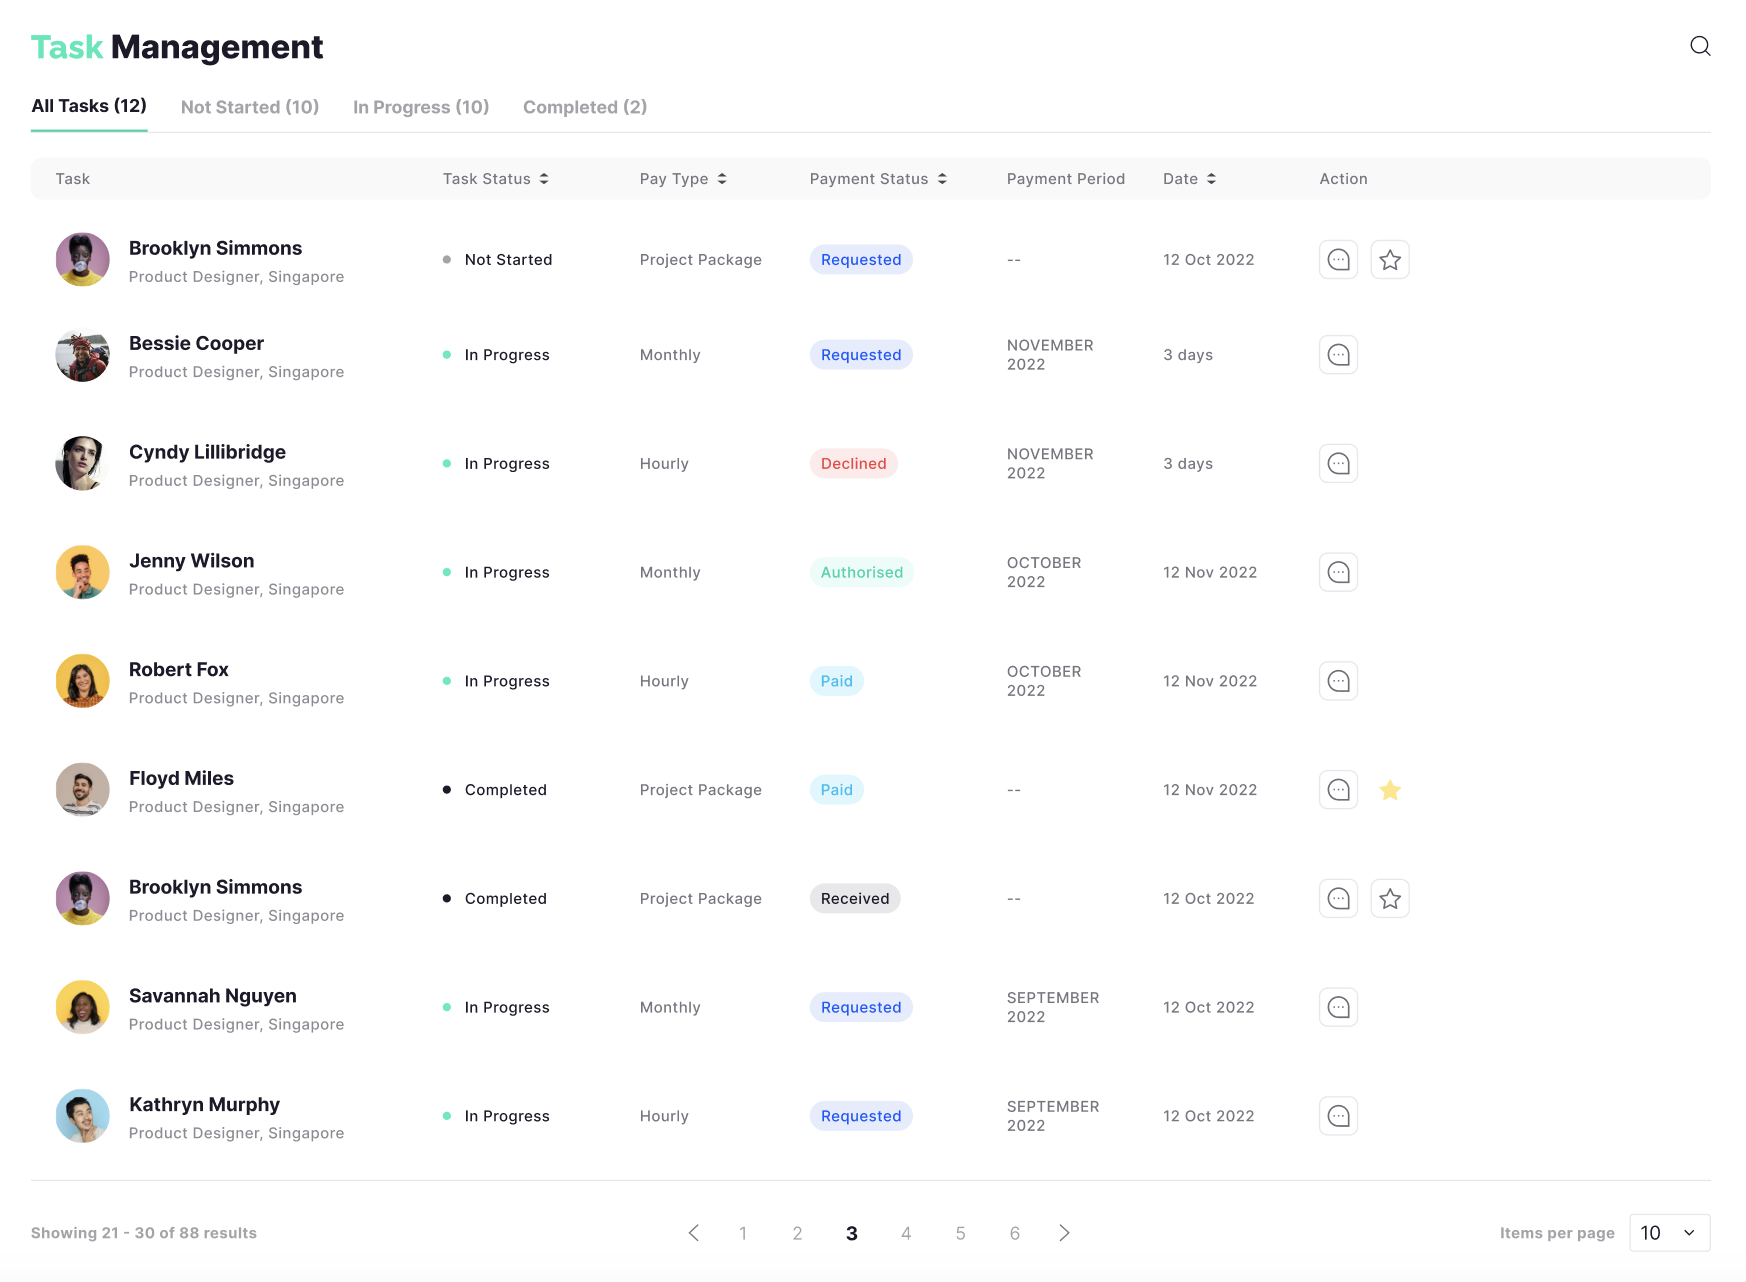
Navigate to Task list > click on a task with Requested status

Navigate to the Task page
- Requested: This status appears
after the
Candidate submitted a payment request for a task. Pending and awaiting the Employer's
approval.
- Approved: This status confirms that the Employer has reviewed and
approved the
payment request. The request is now in the queue for JDI's processing.
- Paid: This
status
signifies that JDI Central has processed the payment for the task. The funds have been
released.
- Received: This is the final status in the payment process. It confirms
that the
candidate successfully received the payment for the task.
- Declined: This status
indicates
that there was an issue with the payment request, and it was declined by the Employer.
The
candidate will need to review and resubmit the payment request.
Navigate to the Candidate page >
Input keywork to search
candidate, or
filter
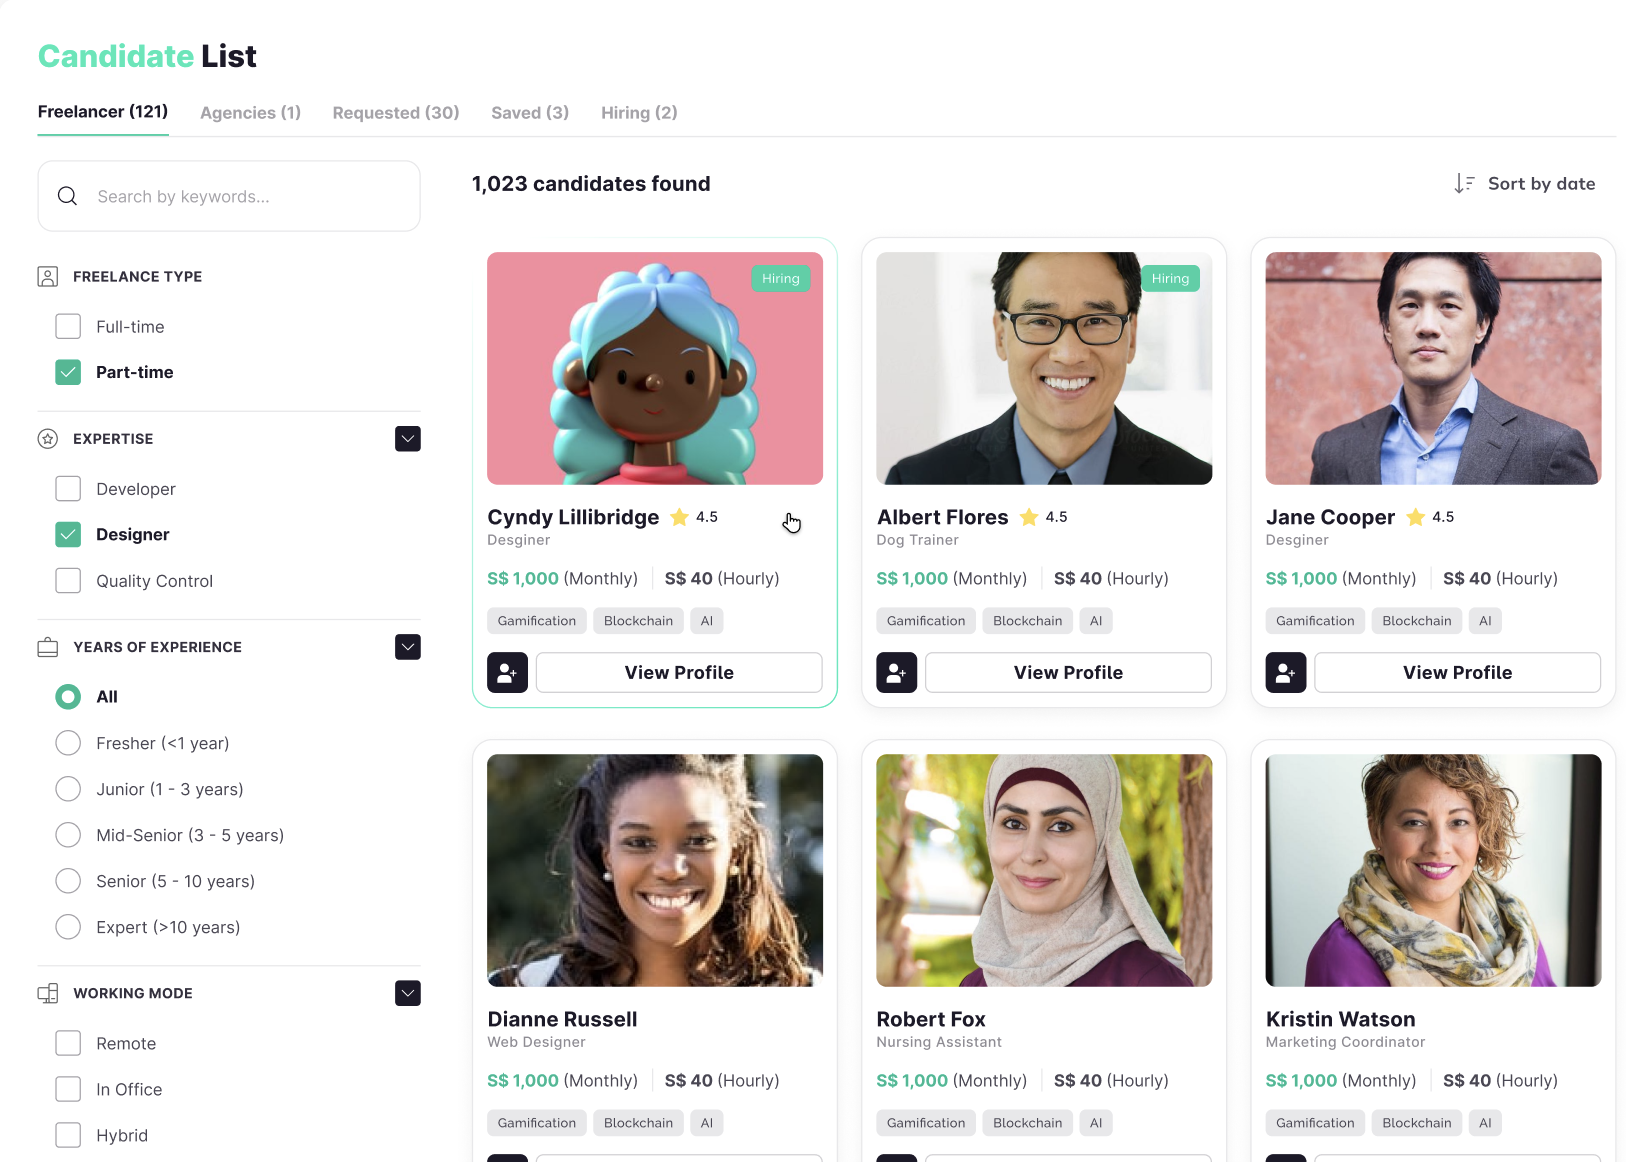
Find a candidate you are interested in > click the Add to Saved
button in
the candidate profile detai
The candidate will be added to your Candidate/Saved list
ALL ARTICLES
© 2022 JDI Central. All Rights Reserved.